How-to Install Debian 13 for CoSoS
WARNING!!!
Debian 13 is not yet fully supported by the
installer for CoCoS v5. Manual installation required.
Linux Source Image
For installation normaly the Debian NetIso is used. Don't use Debian images for any other websites then the origional Deibion website.
The default 64bit ISO image for intel cpu's can be download via the following url:
https://cdimage.debian.org/cdimage/archive/13.5.0/amd64/iso-cd/debian-13.5.0-amd64-netinst.iso
Check the system requirements before installing Debian
View the CoCoS system requirements here
Debian 13 Setup guide
|
Start the Debian Installation ISO via CD Drive, mounting or USB. We assume booting the Linux ISO don't need explaining.
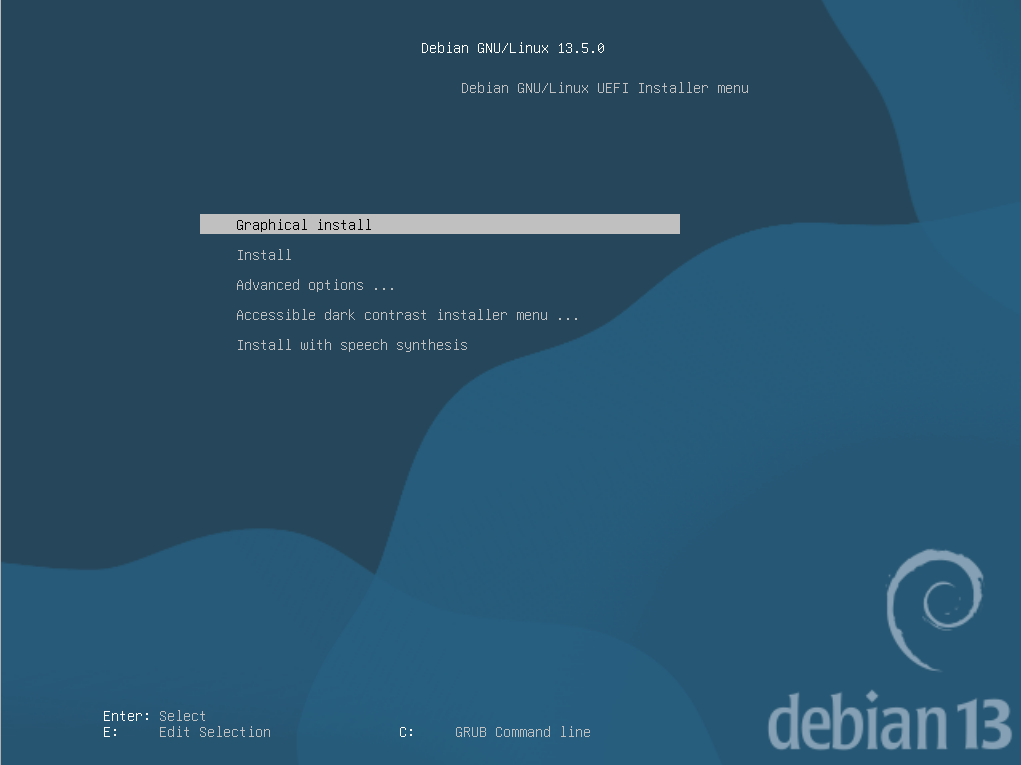
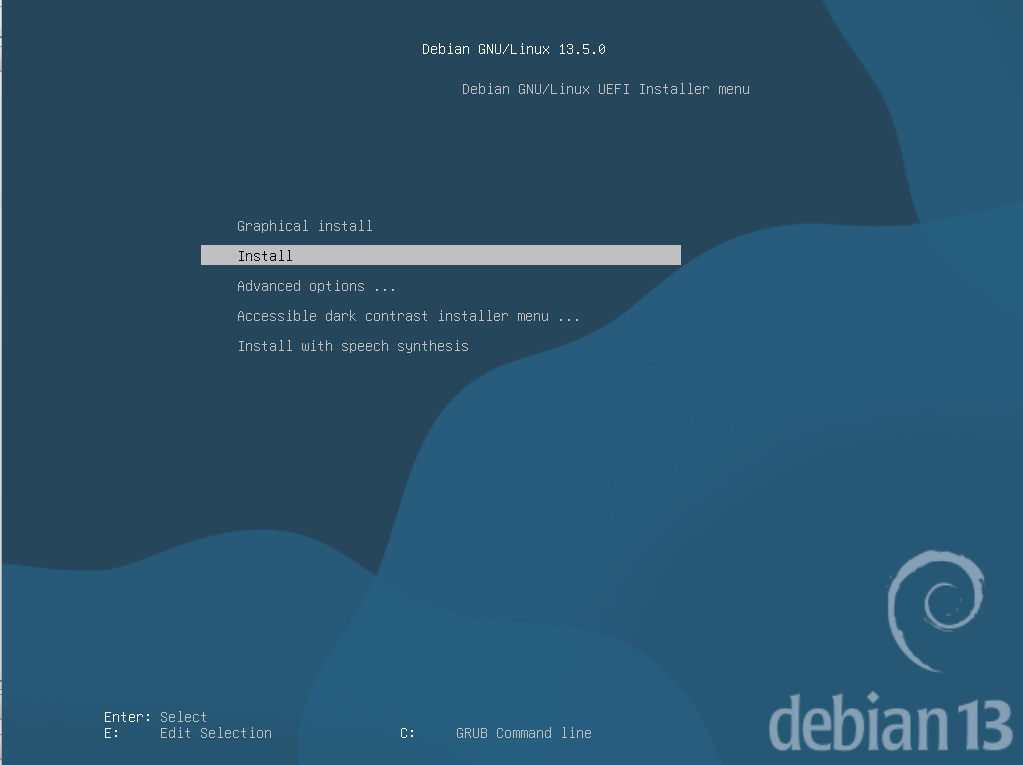
Select the option “Install” (to install the server version of Debian). |
|
|
|
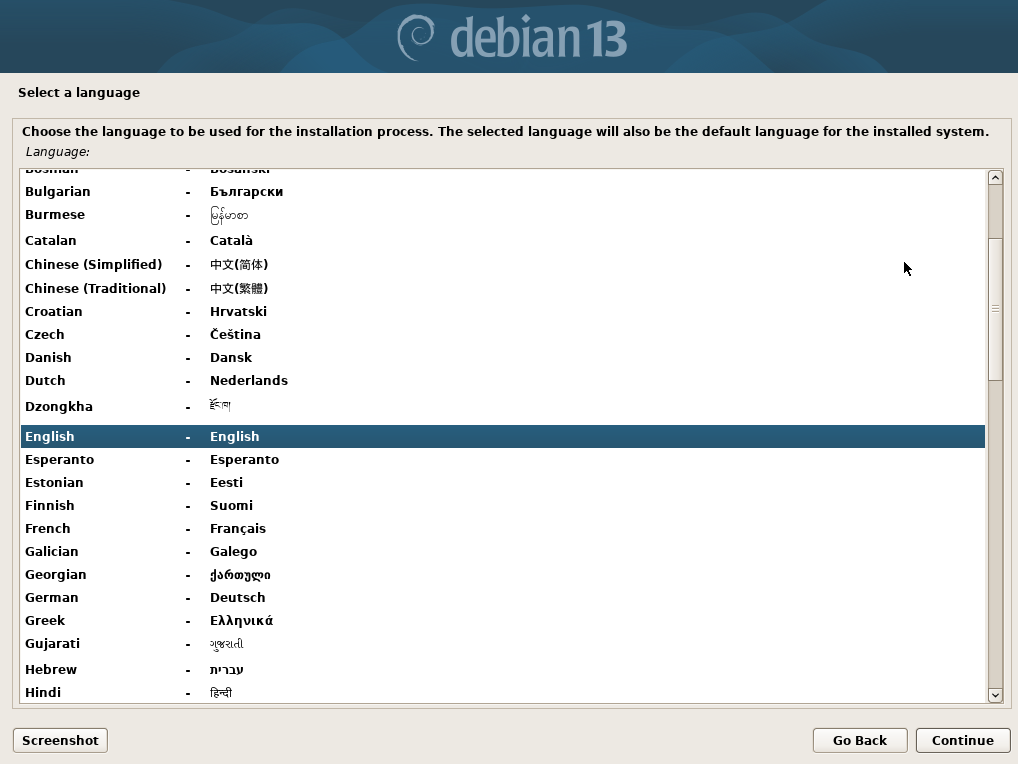
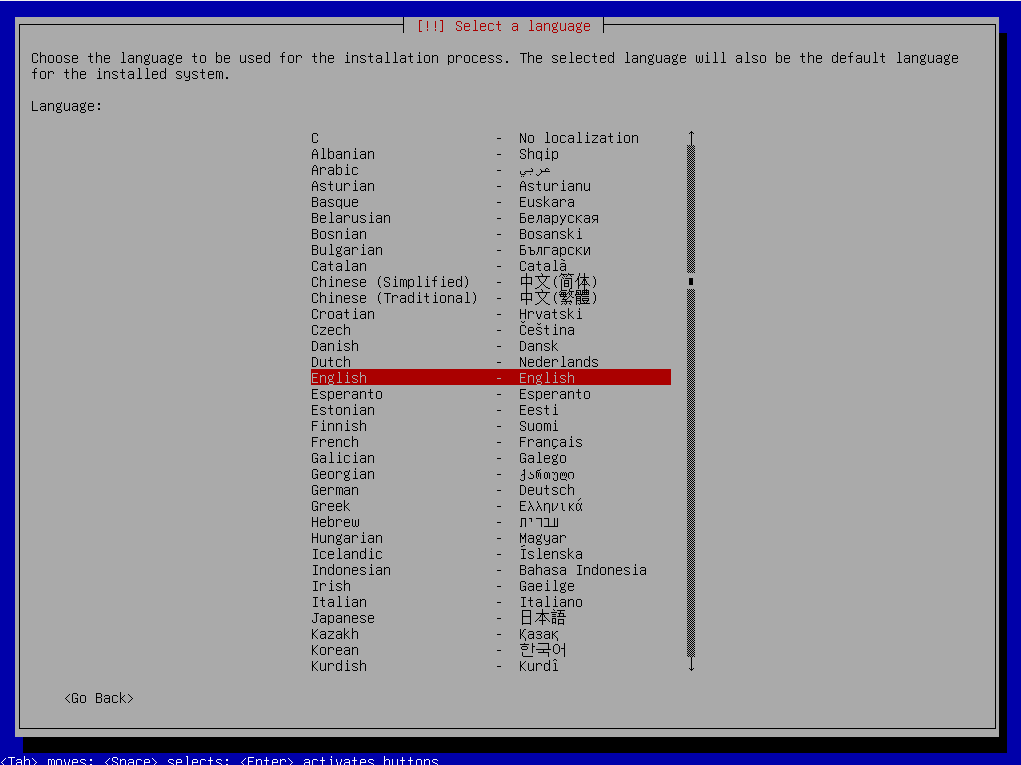
Select you preferred language.
Confirm your selection by pressing [Enter]. |
|
|
|
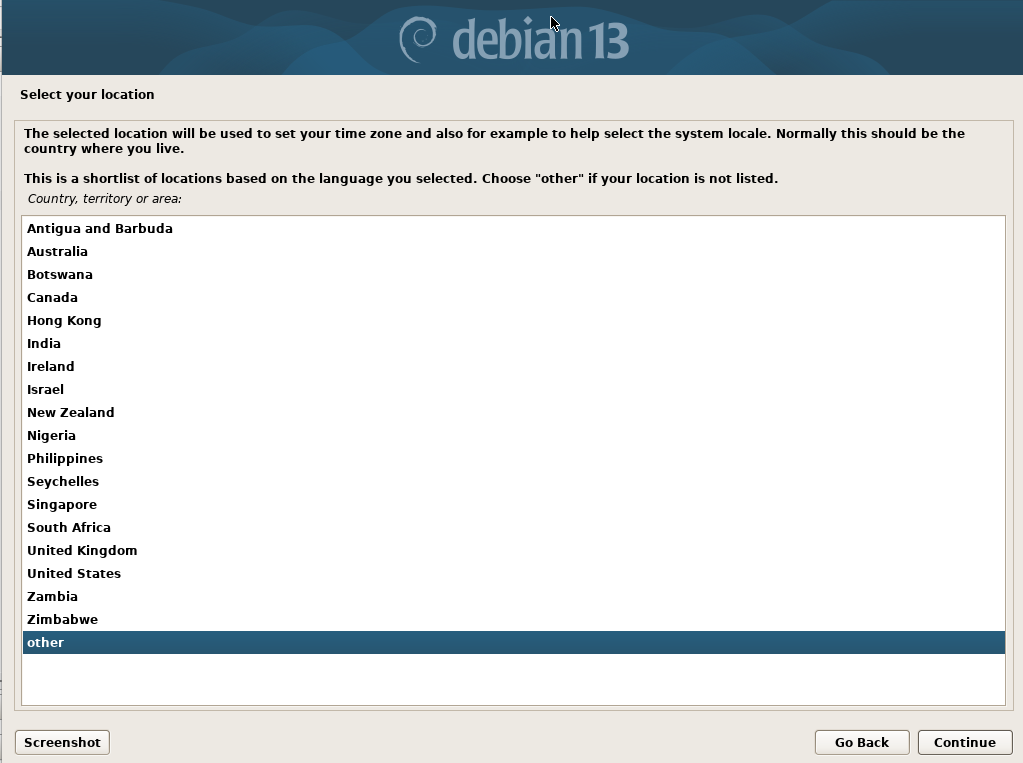
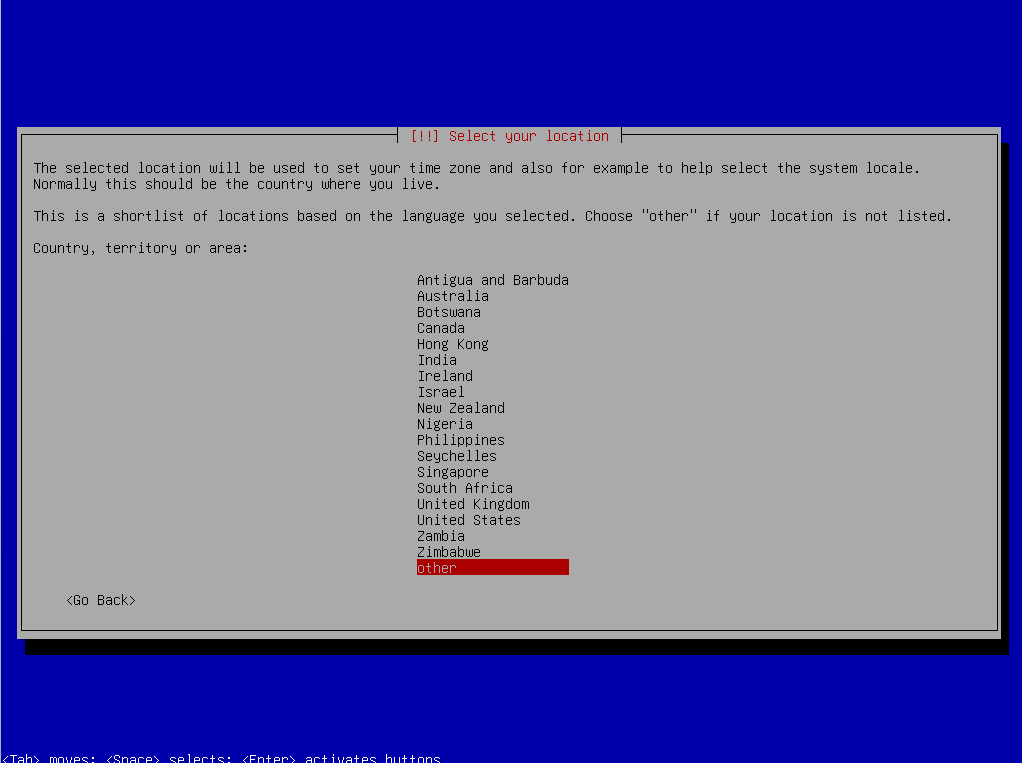
Select the country where the installation will be used.
Confirm your selection by pressing [Enter]. |
|
|
|
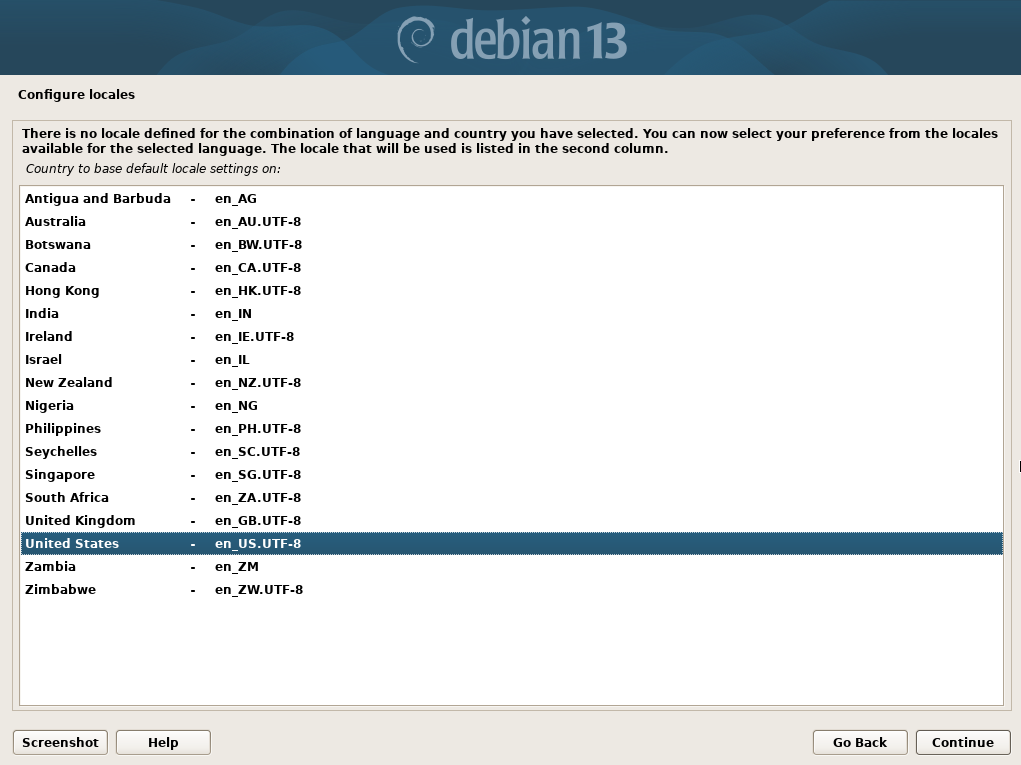
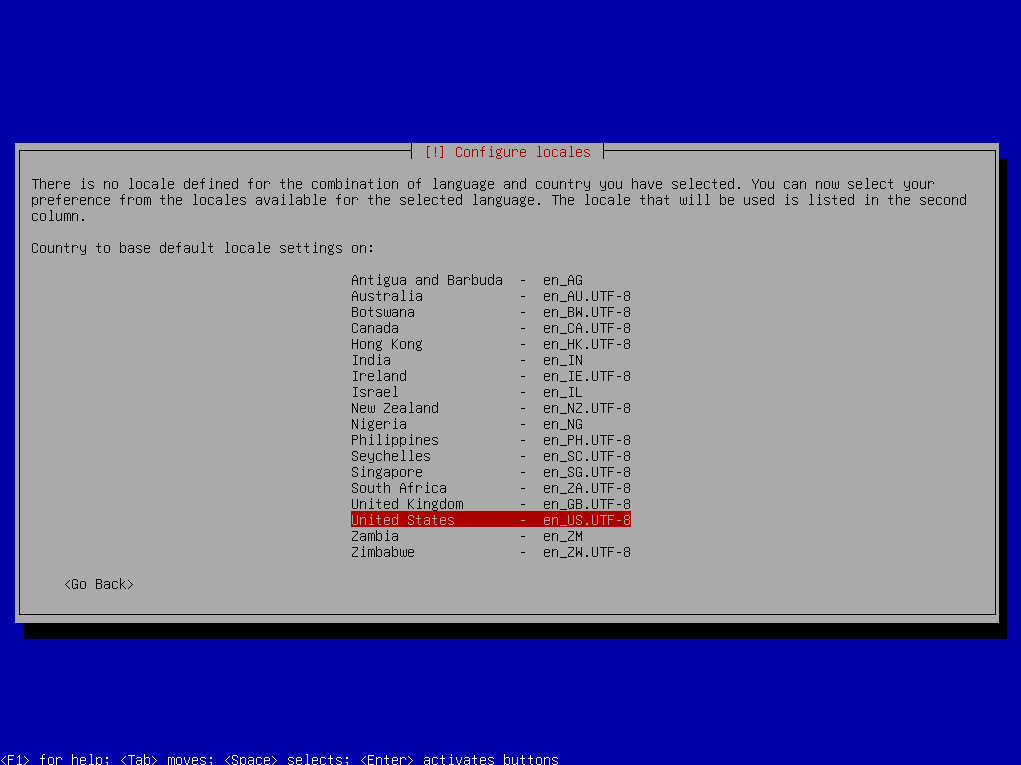
When selecting the locales, choose “United States / en-US.UTF-8.”
Confirm your selection by pressing [Enter]. |
|
|
|
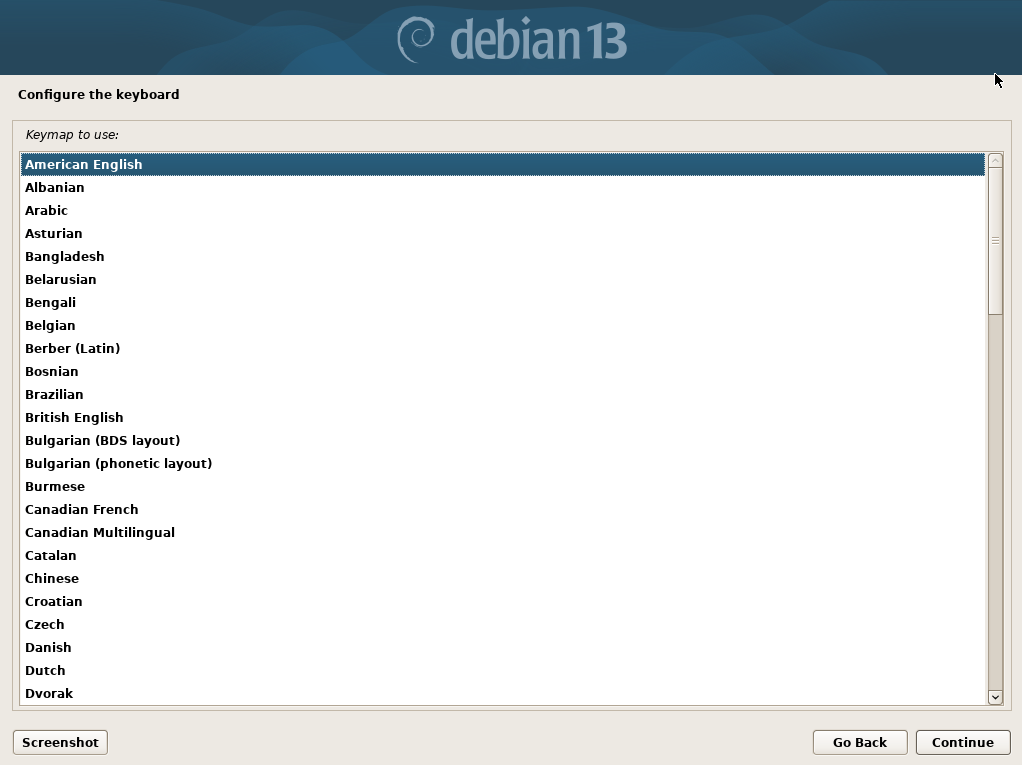
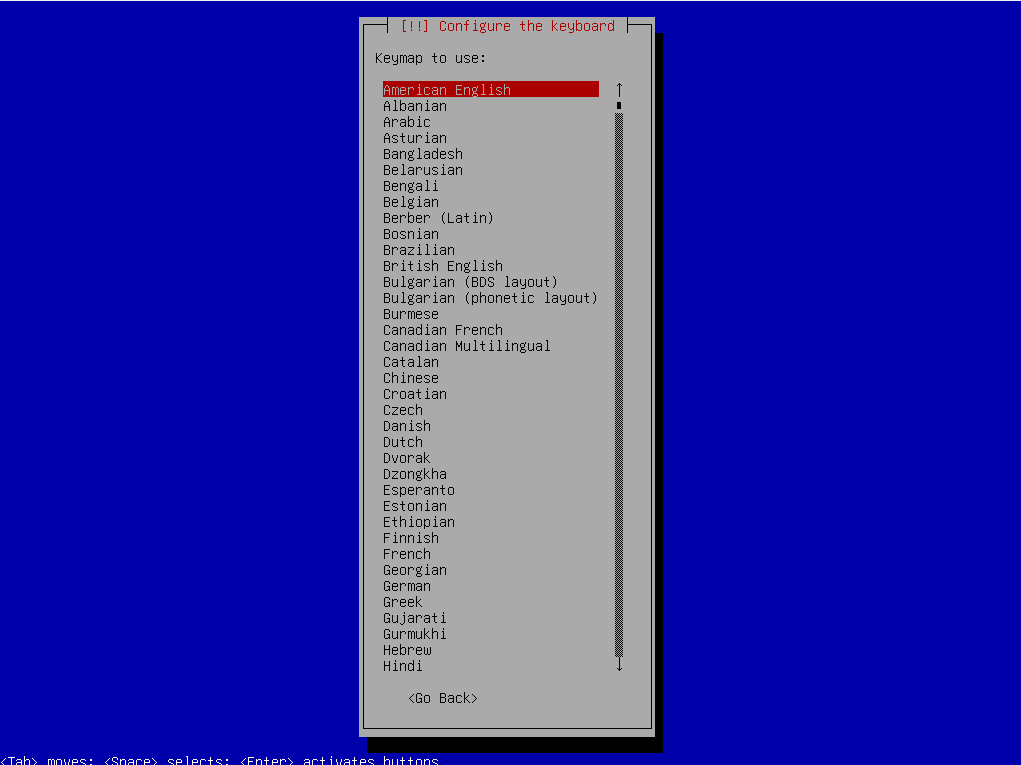
Please select you preferred type of keyboard (keymap).
Confirm your selection by pressing [Enter]. |
|
|
|
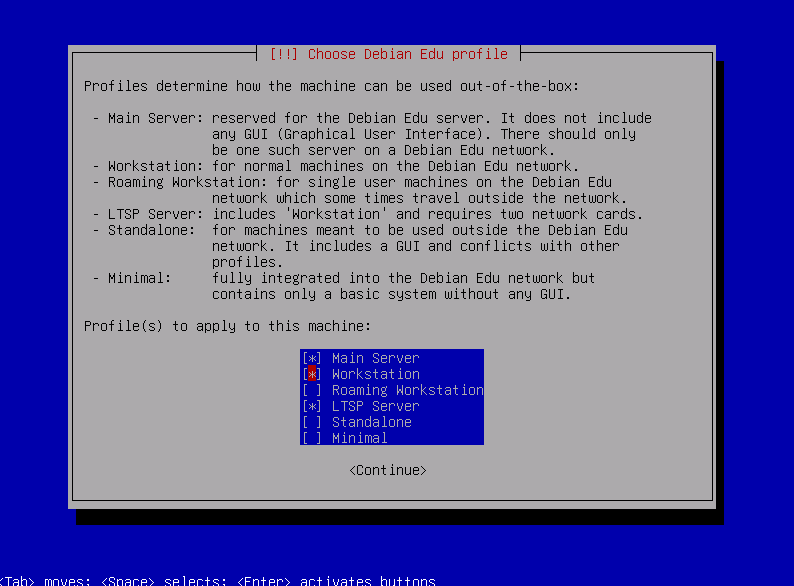
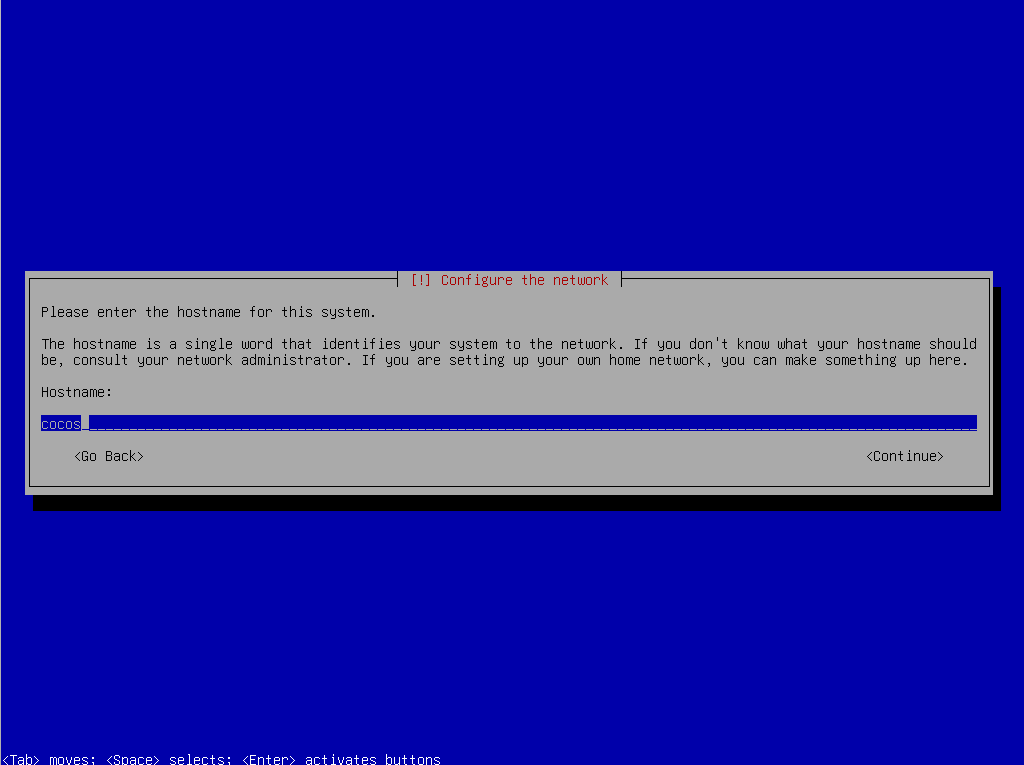
IMPORTANT! |
|
|
|
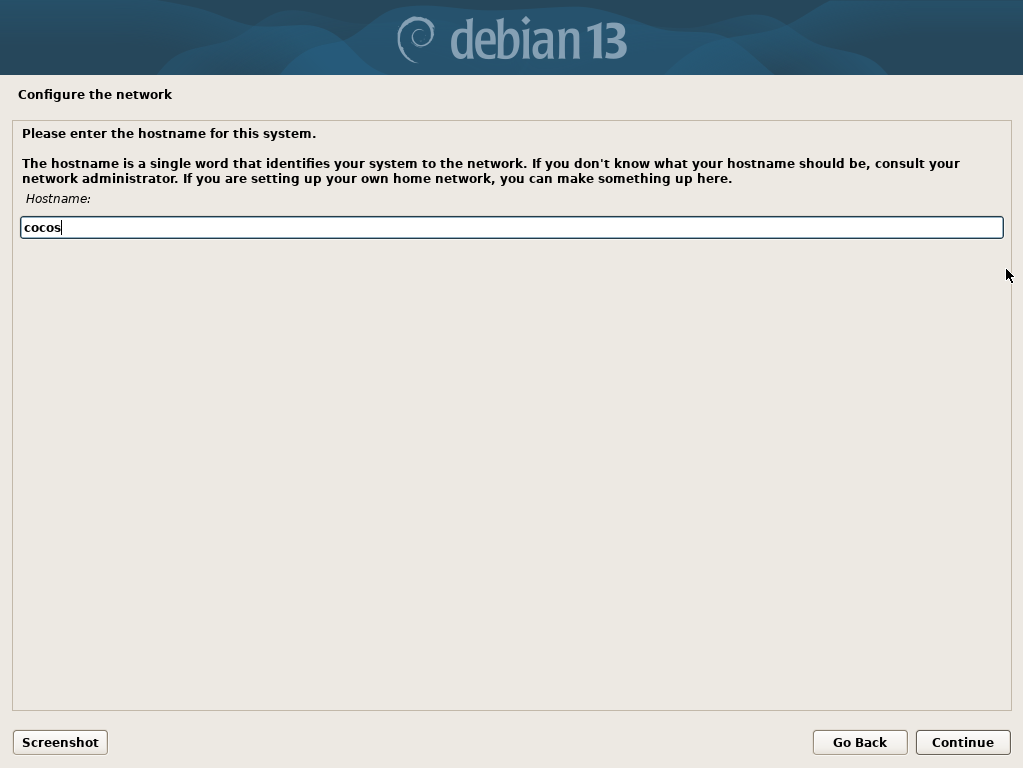
Enter the required hostname for the system.
Select continue and press [Enter]. |
|
|
|
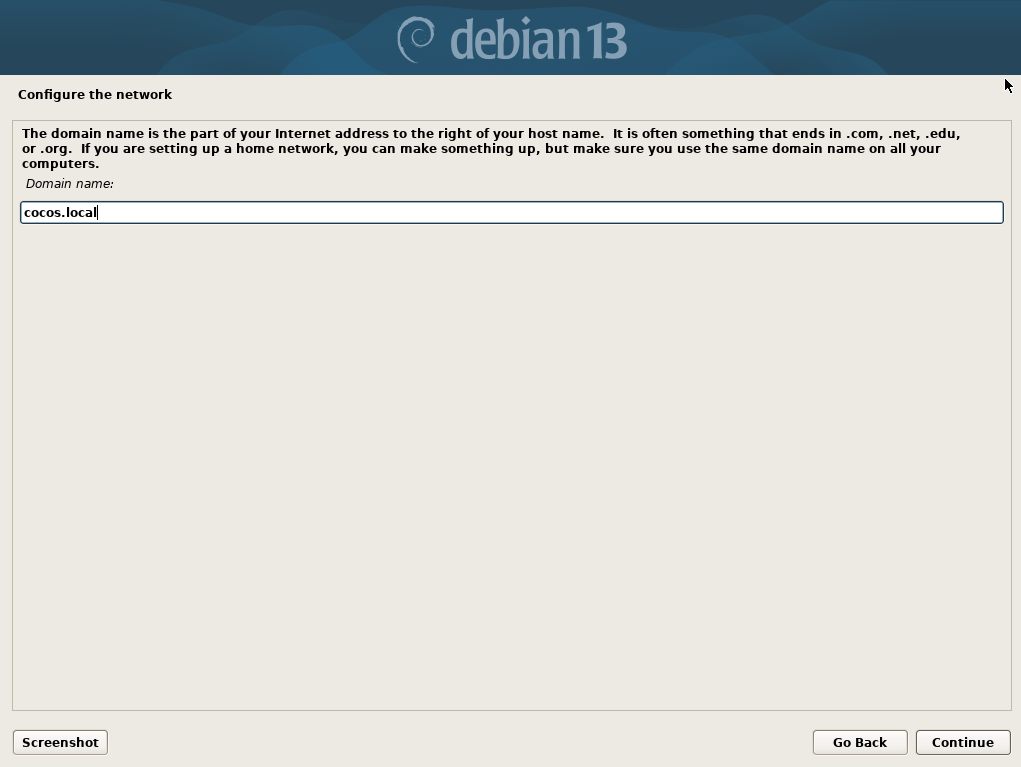
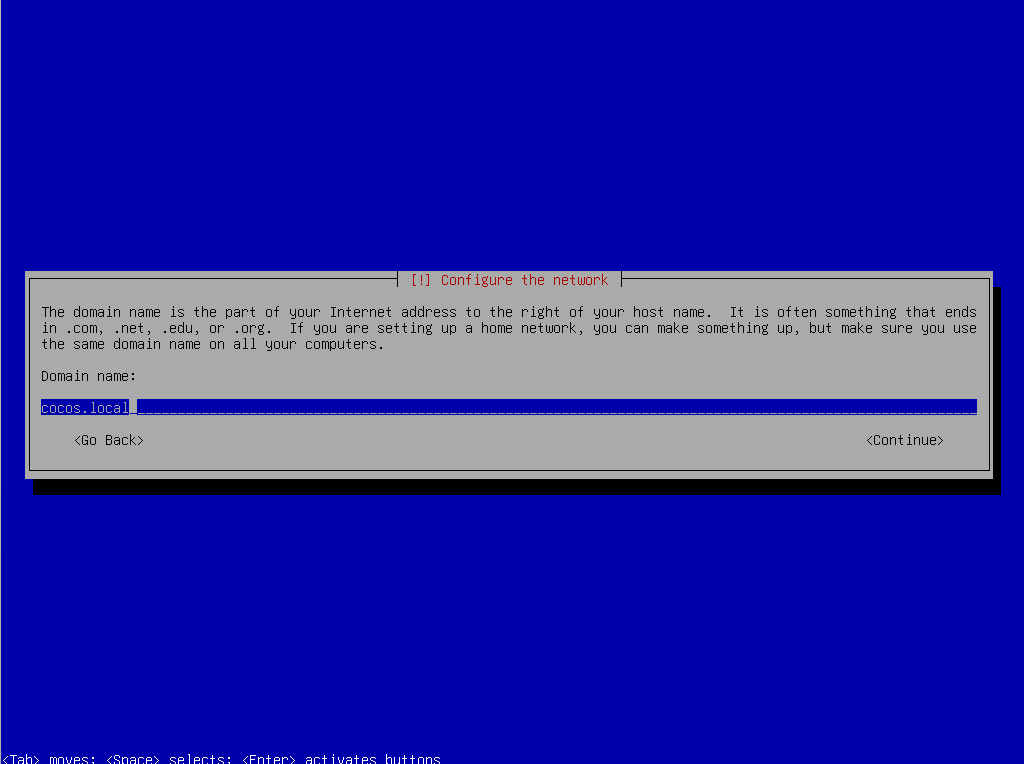
The domain name is not required and can be left empty.
Select the option <Continue> and confirm your choice by pressing [Enter]. |
|
|
|
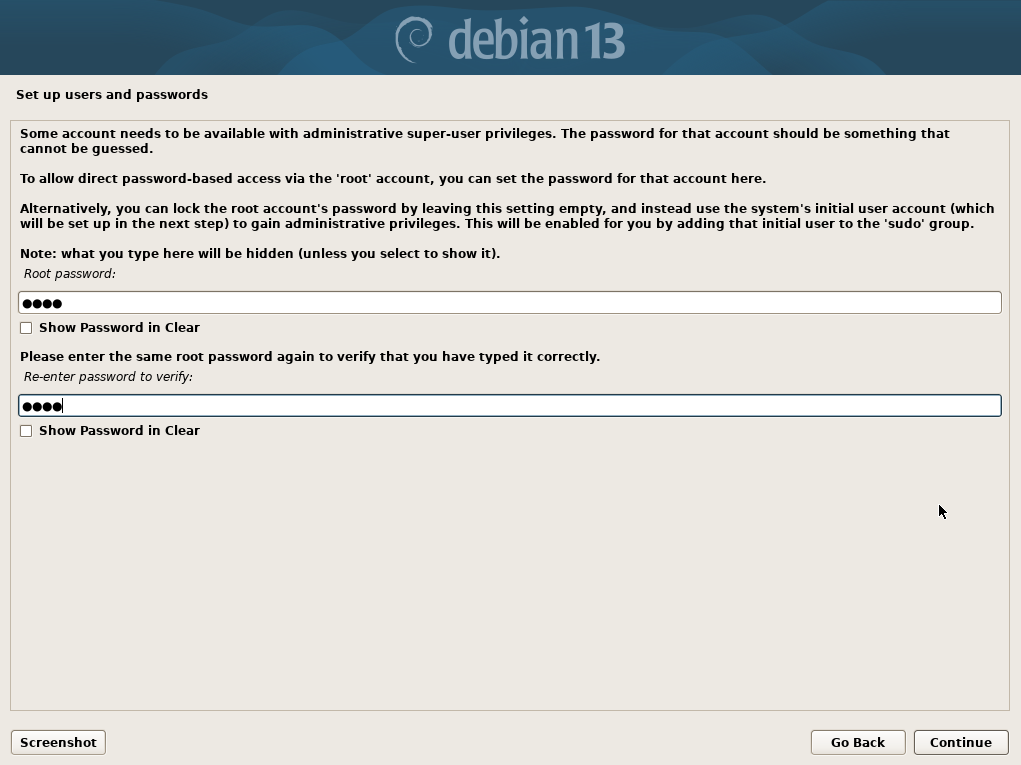
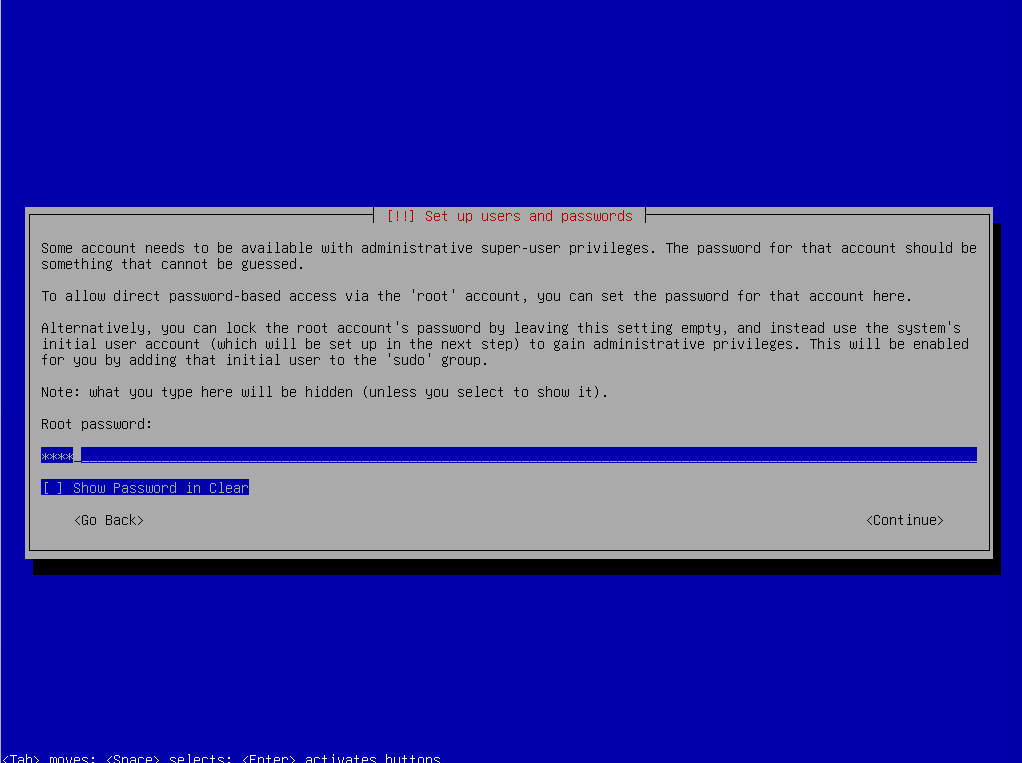
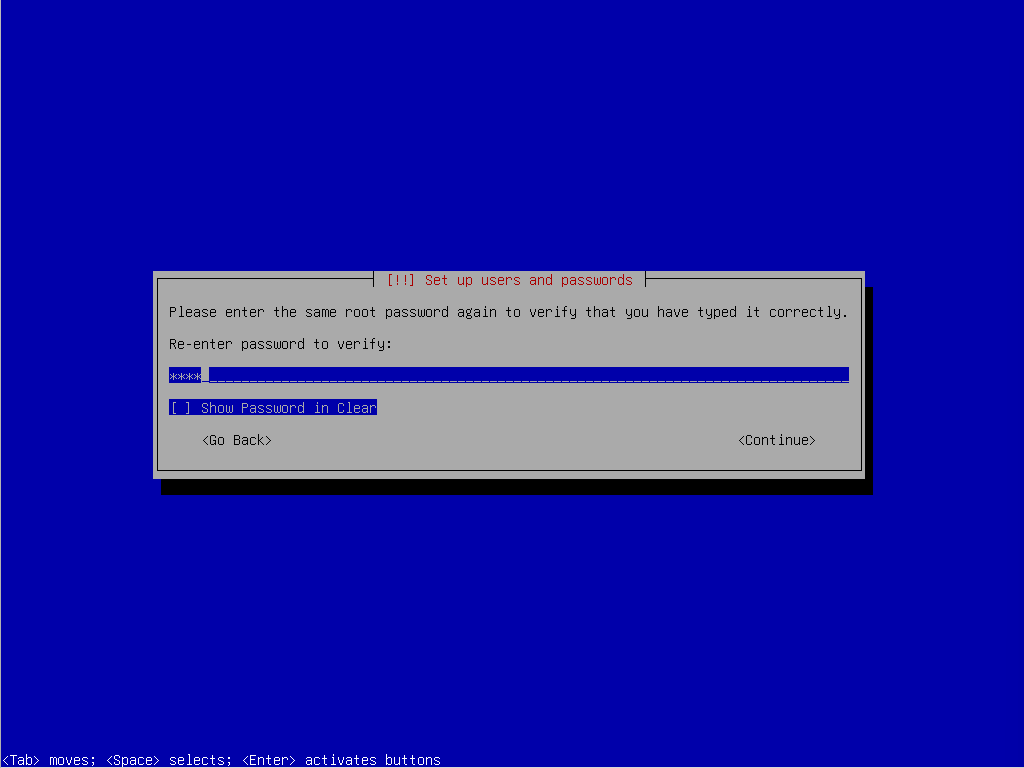
Kies een sterk wachtwoord voor de gebruiker root. Dit is de hoofdgebruiker van het systeem en krijgt alle rechten toegewezen.
Note the root password, you will need them during the installation of CoCoS and for system administration.
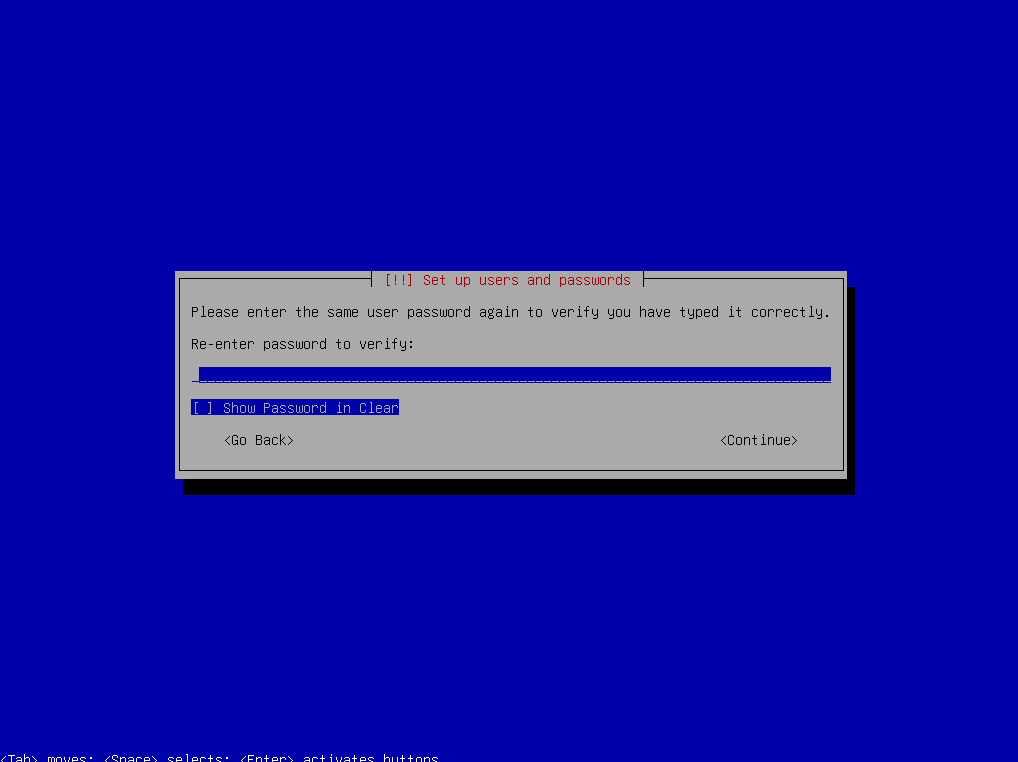
Select the option <Continue> and confirm your choice by pressing [Enter]. The next page wil ask you to confirm the password. |
|
|
|
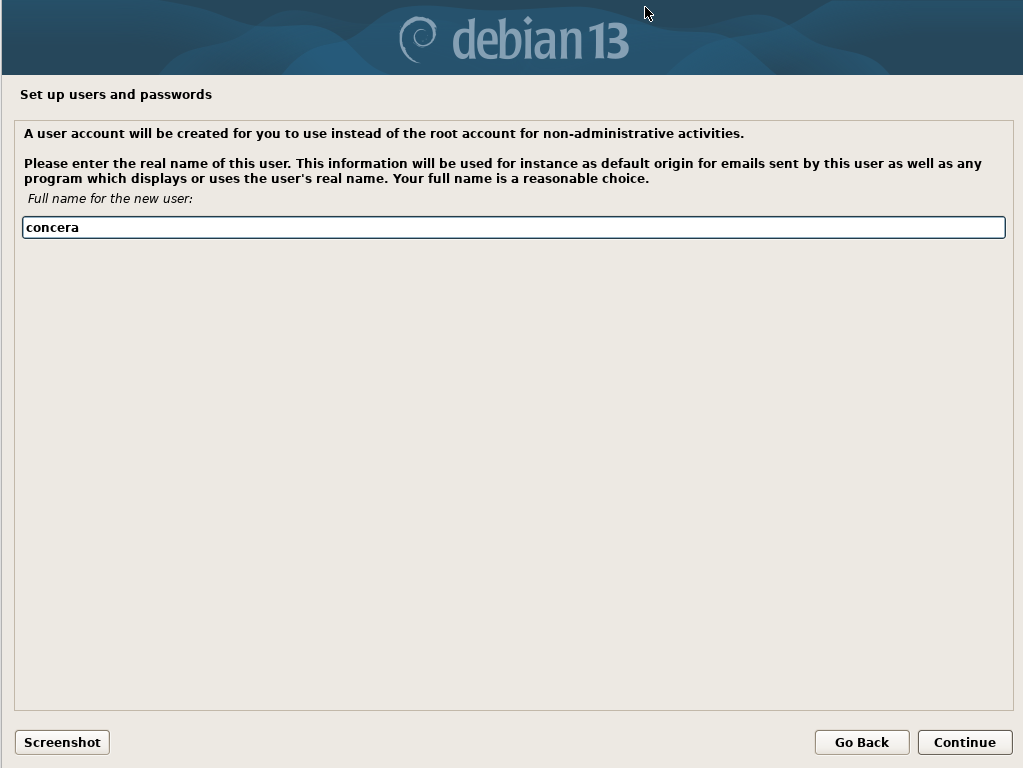
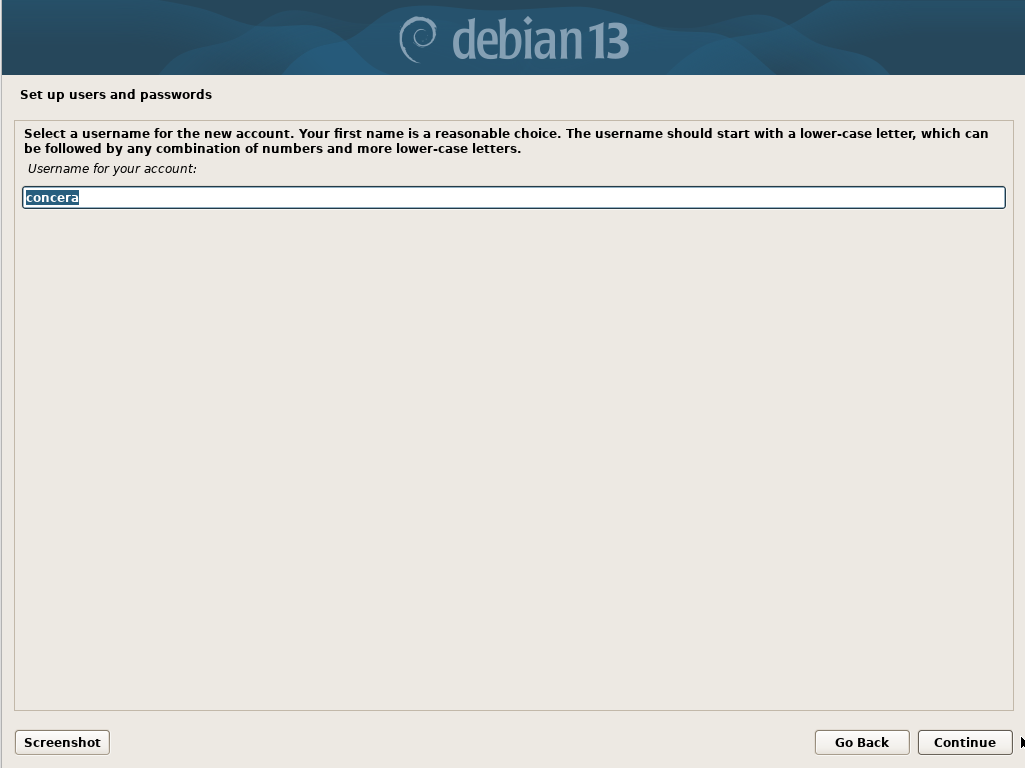
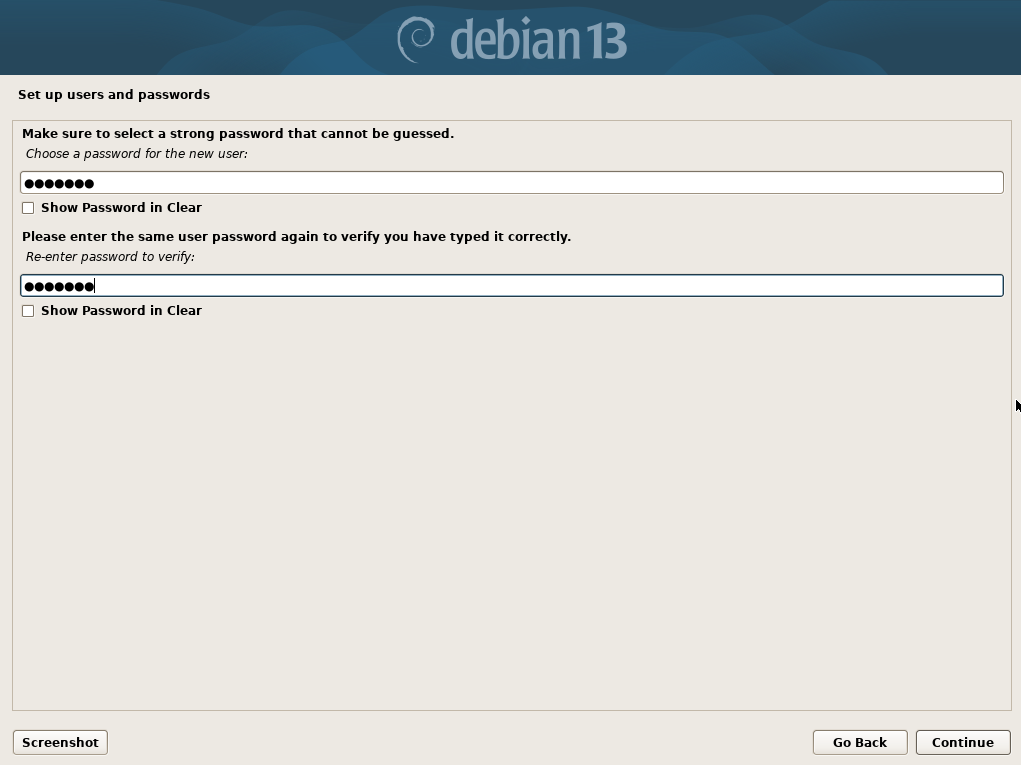
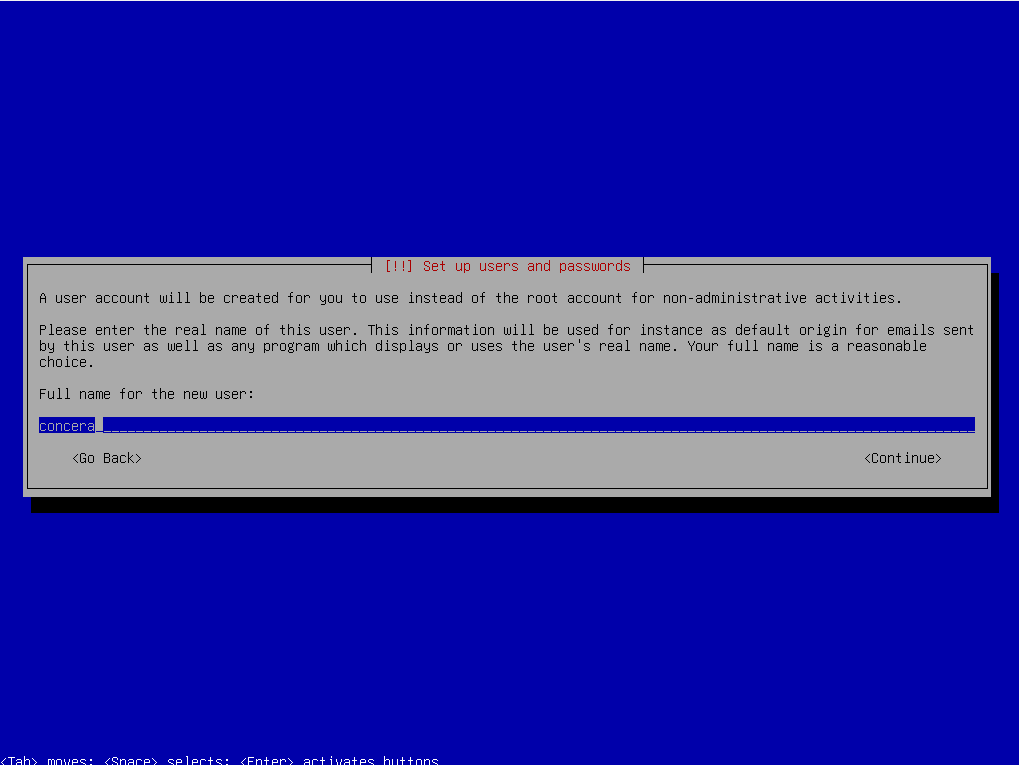
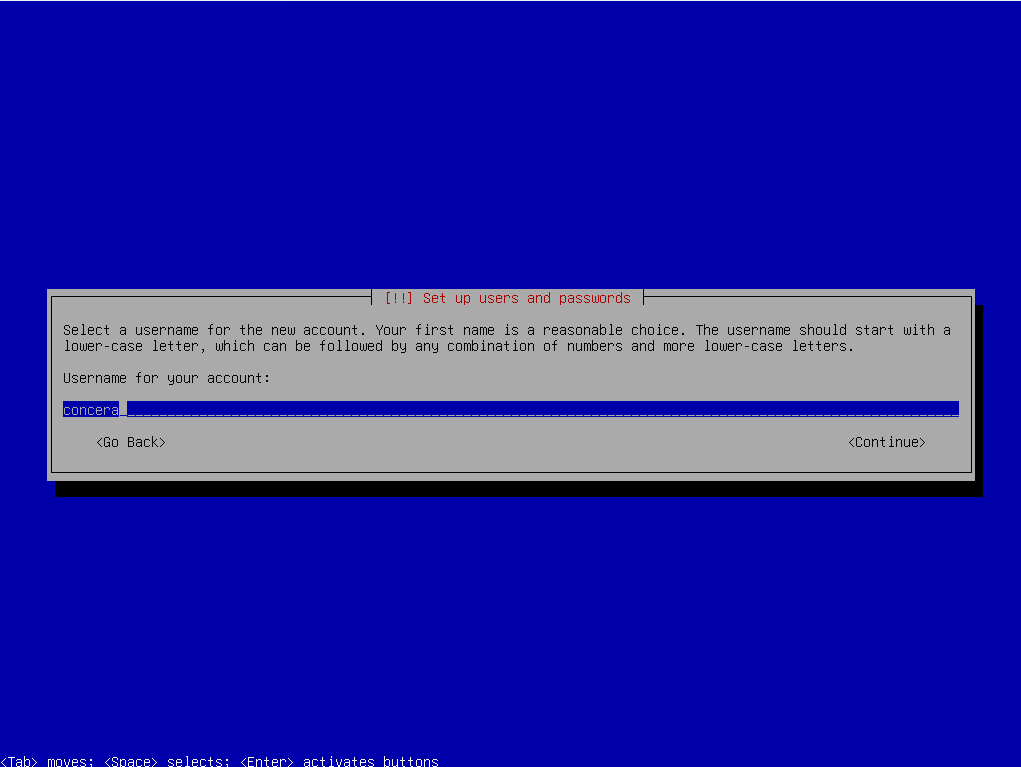
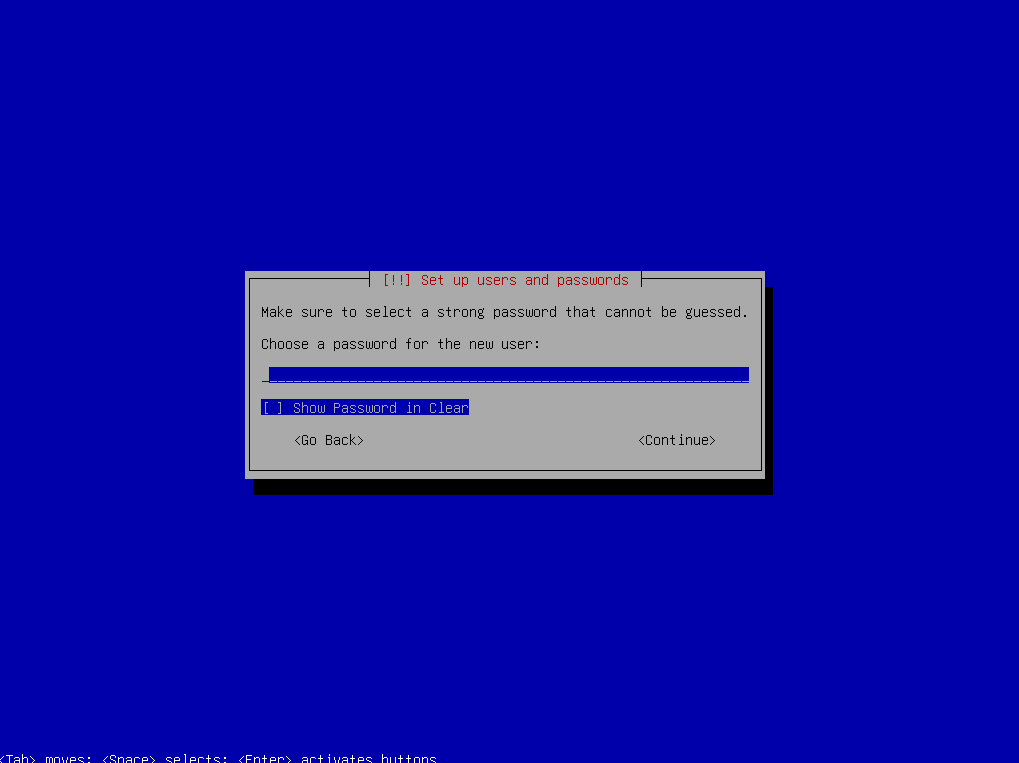
In the next three screens a "normal" user for linux is created. This user is used to login via SSH and on the console when direct root login is disabled.
Note! Do not use the user "cocos" or "admin". "cocos" and "admin" are reserved users and login settings will be disabled for this user during setup.
Fill out the form for the full name, username and password.
Note the username and password, you will need them during the installation of CoCoS and for system administration.
Select the option <Continue> and confirm your choice by pressing [Enter]. |
|
|
|
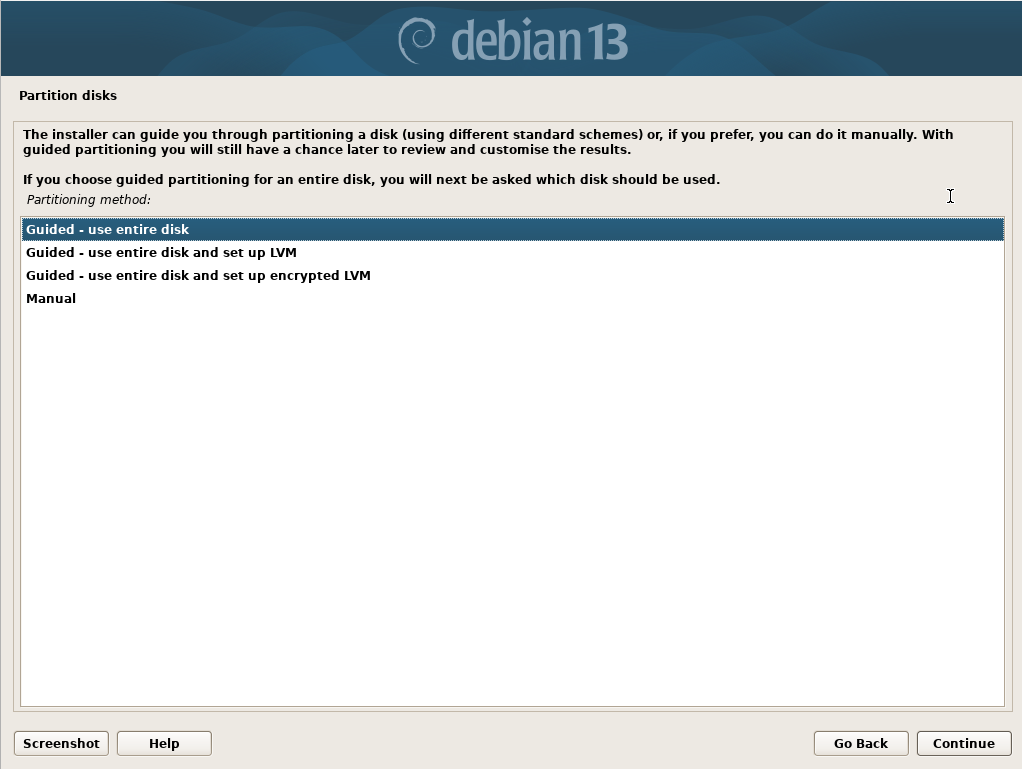
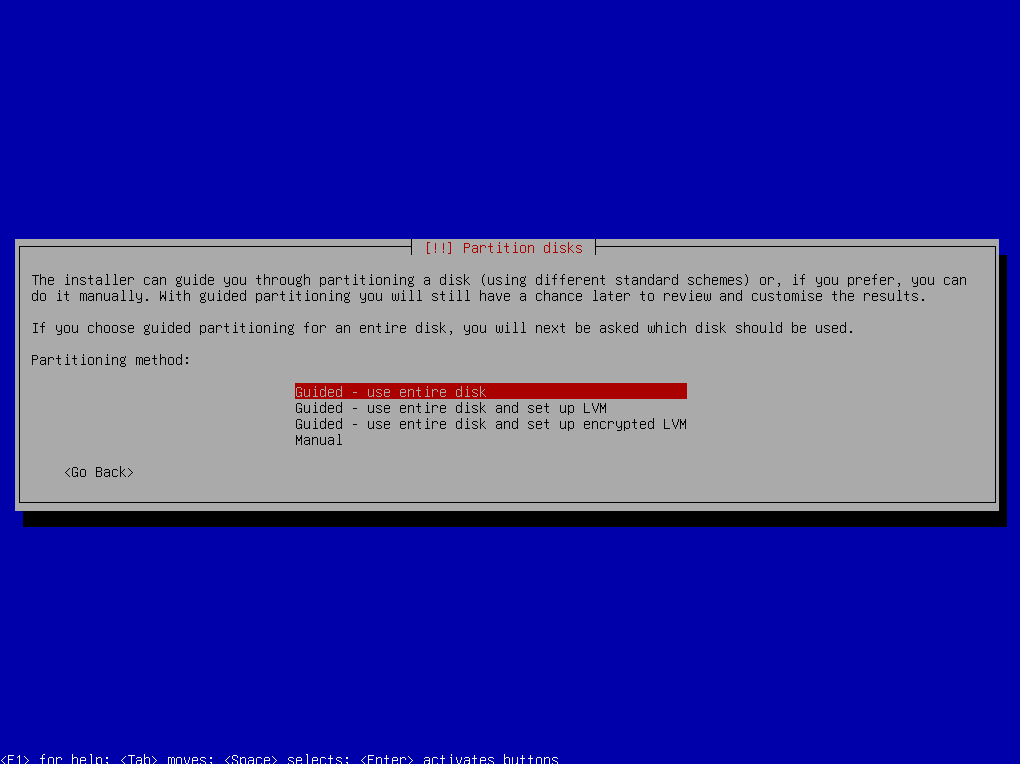
The setup will create disk partitions. If you're an advanced user you can change the partions, but if you're setting up Debian or CoCoS for the first time you maybe better off keeping the partions set to "Guided - use entier disk".
If you're an advance user we recommend using 8GB of Swap memory minimal. CoCoS will extend the Swap memory if need using a swapfile.
Confirm your choice by pressing [Enter] |
|
|
|
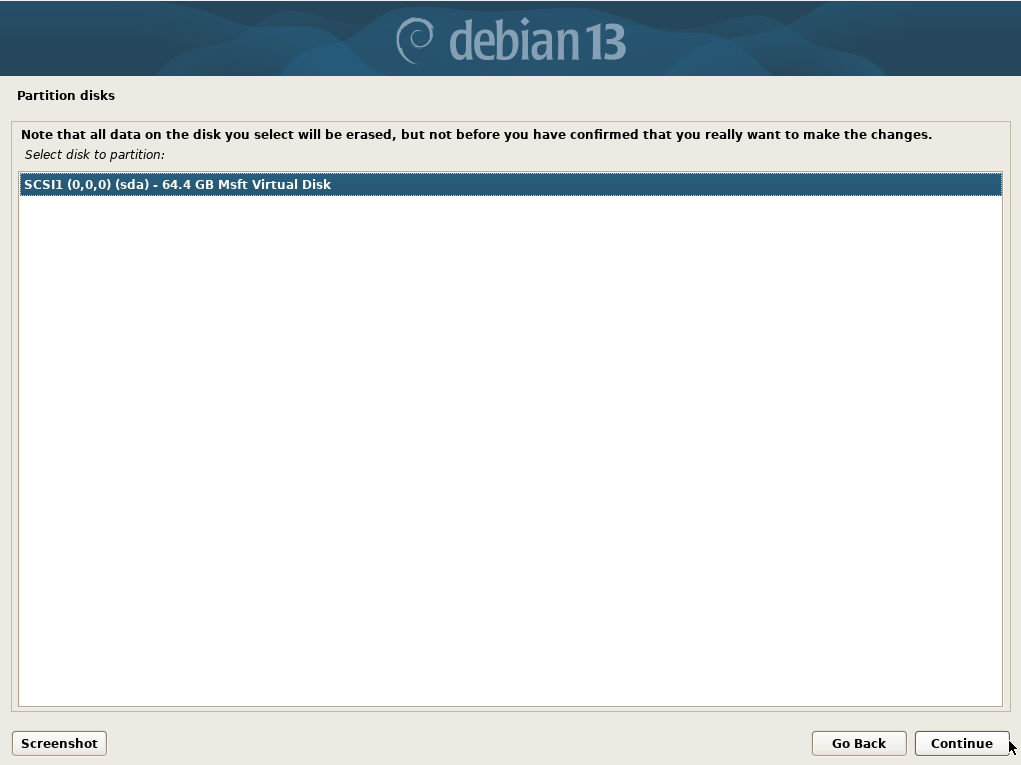
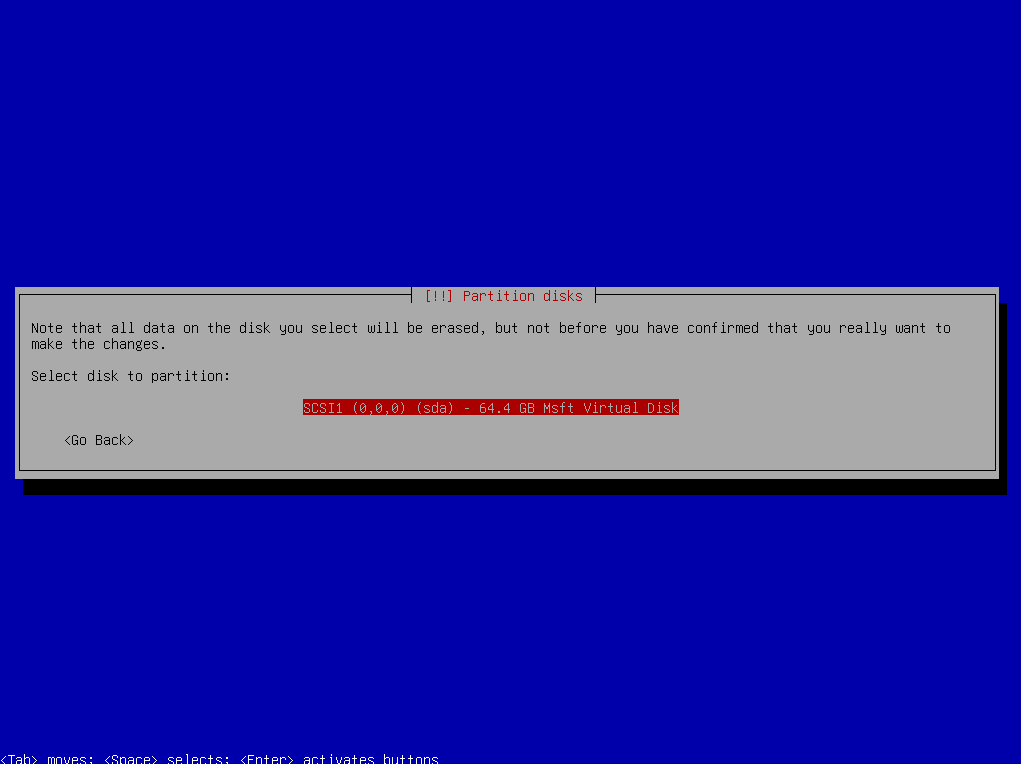
Please choose the disk to use for CoCoS.
Confirm your choice by pressing [Enter] |
|
|
|
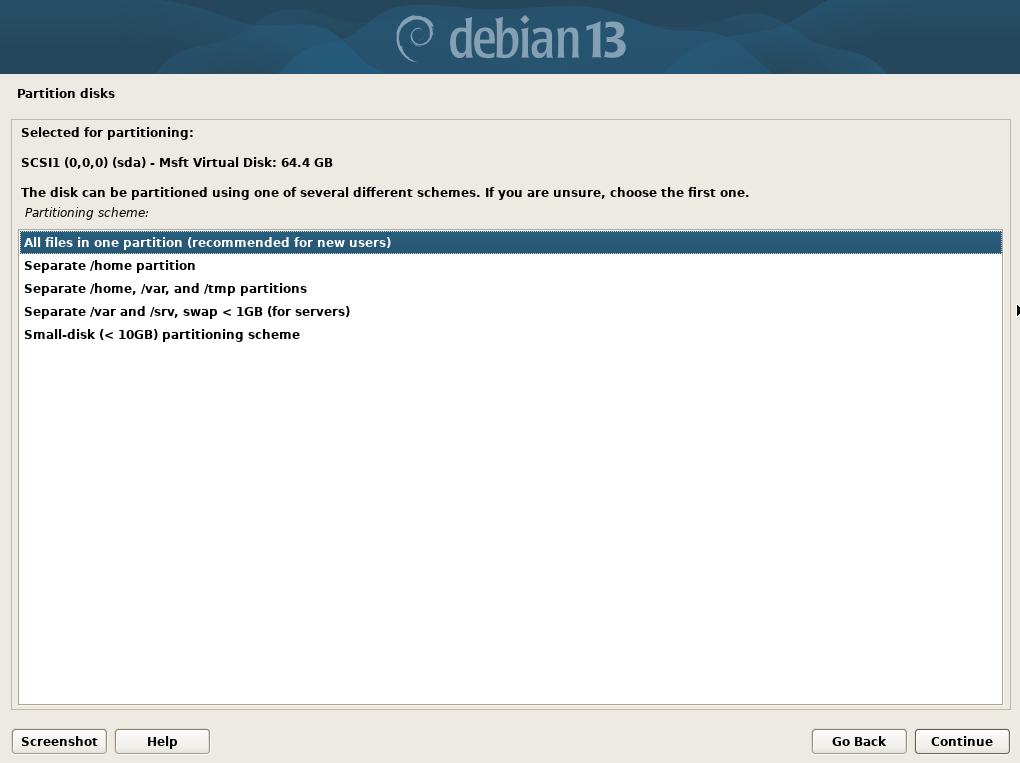
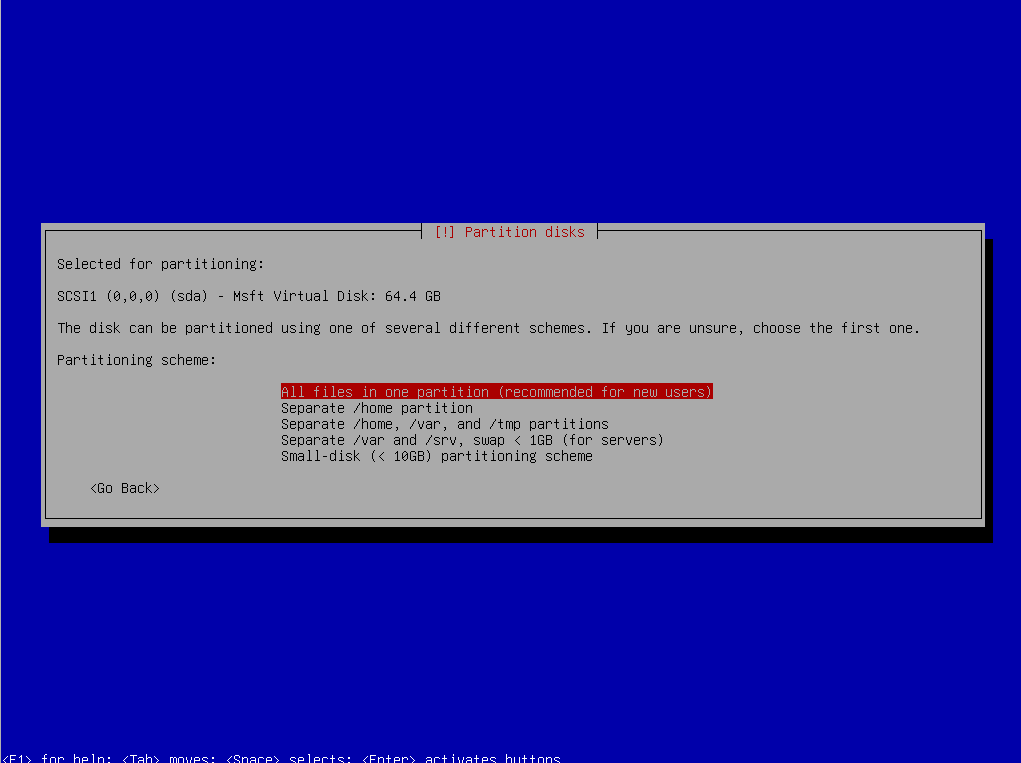
When selecting the partitioning scheme, choose “All files in one partition (recommendedfor new users).”
Confirm your selection by pressing [Enter]. |
|
|
|
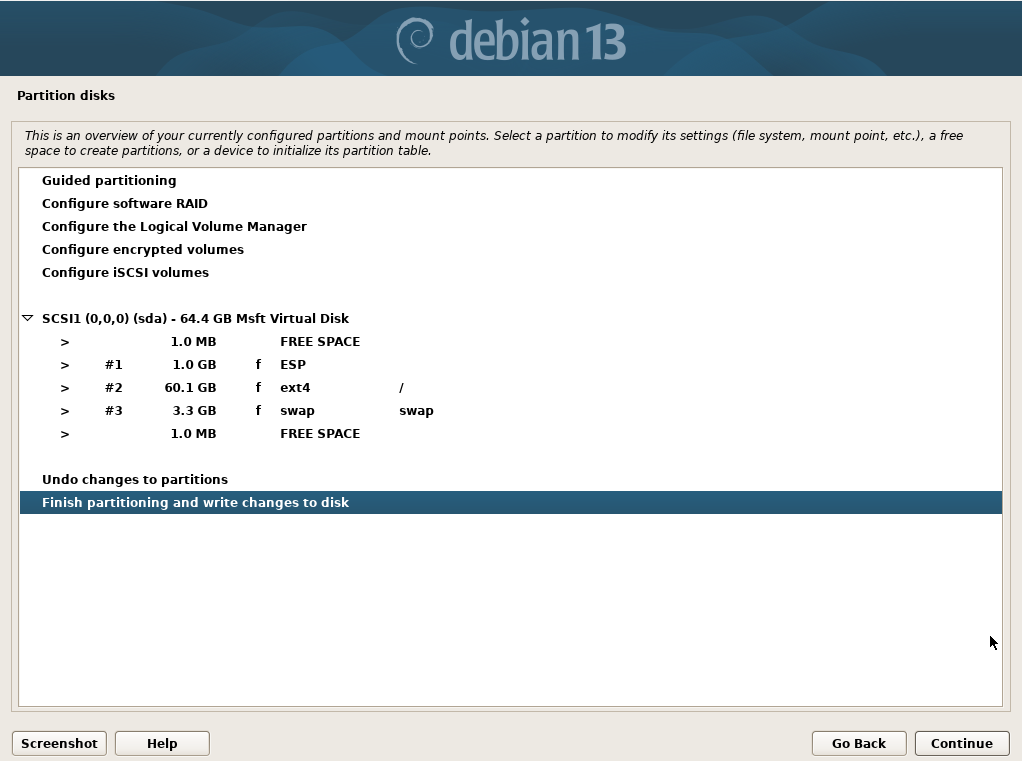
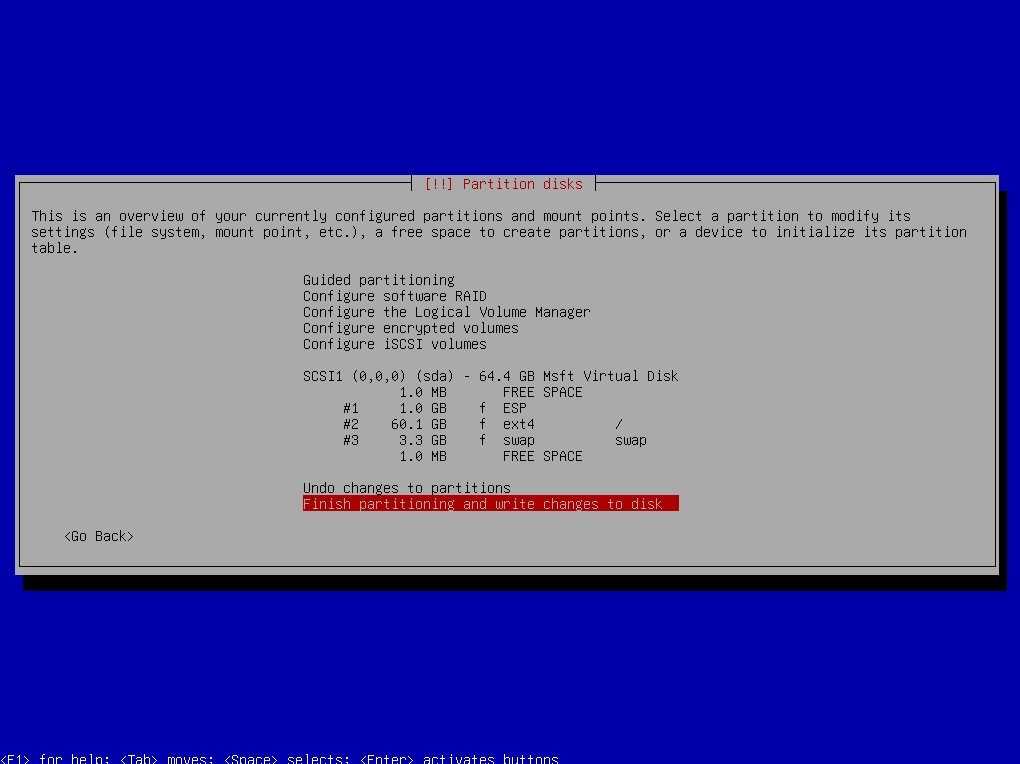
Confirm the disk partitioning by selecting “Finish partitioning and write changes to disk.”
Confirm your selection by pressing [Enter]. |
|
|
|
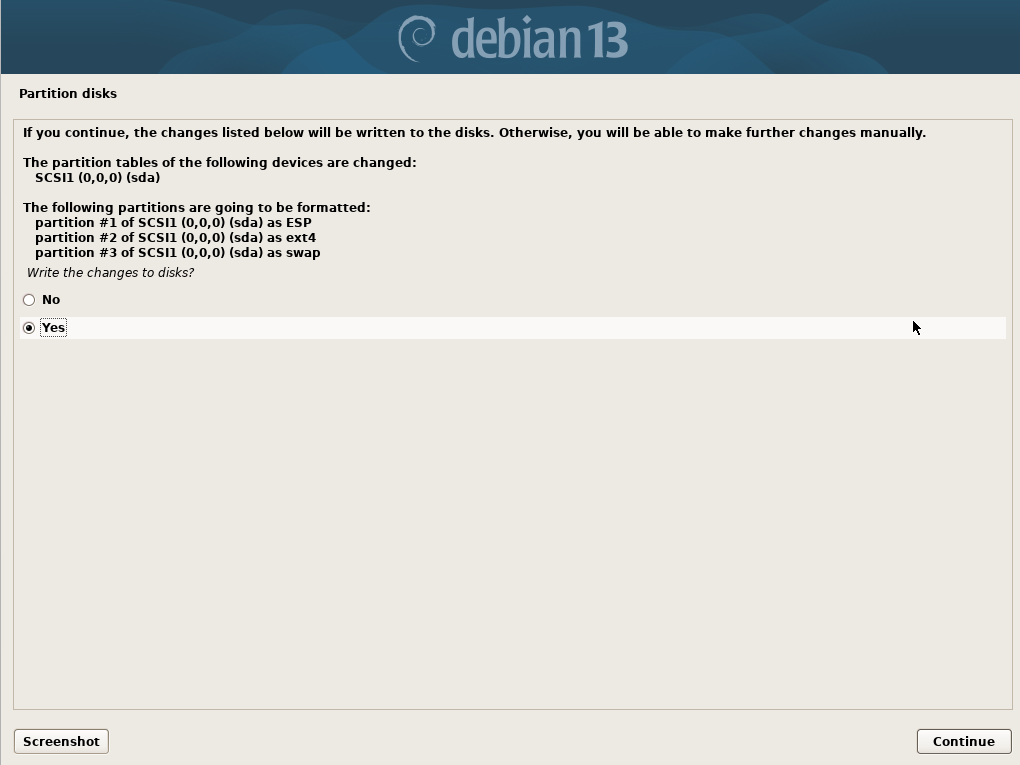
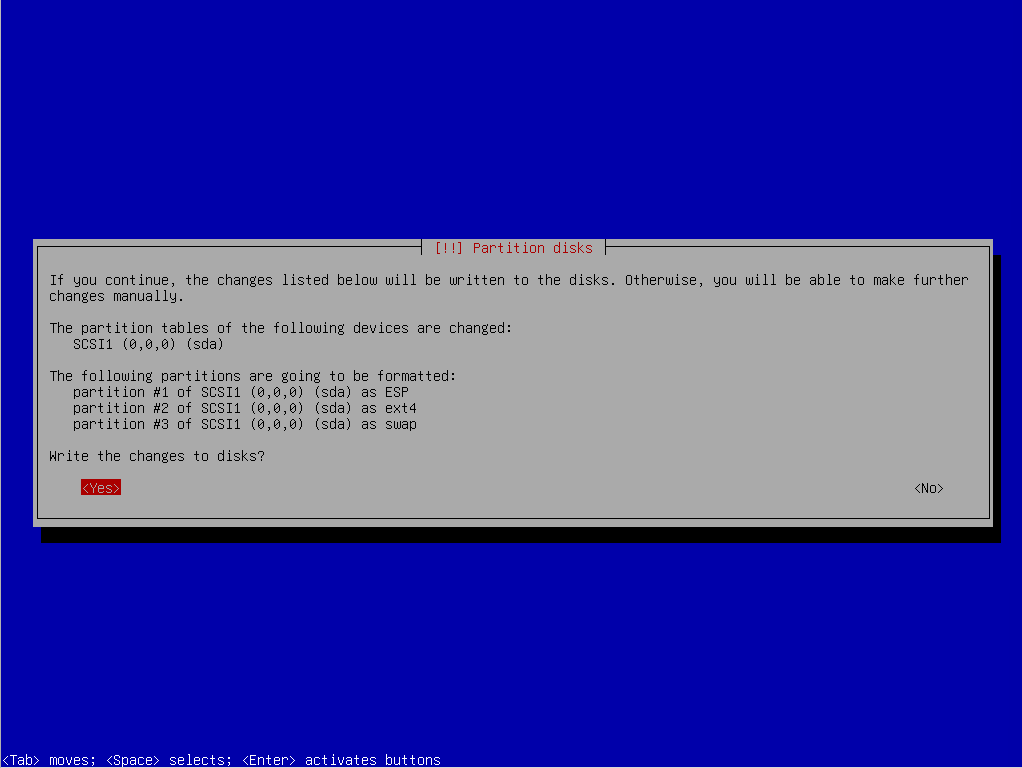
When prompted with “Write changes to disk?”, select “<Yes>.”
Confirm your selection by pressing [Enter]. The next few screens will show some progress bars while the system handle the first installation steps. |
|
|
|
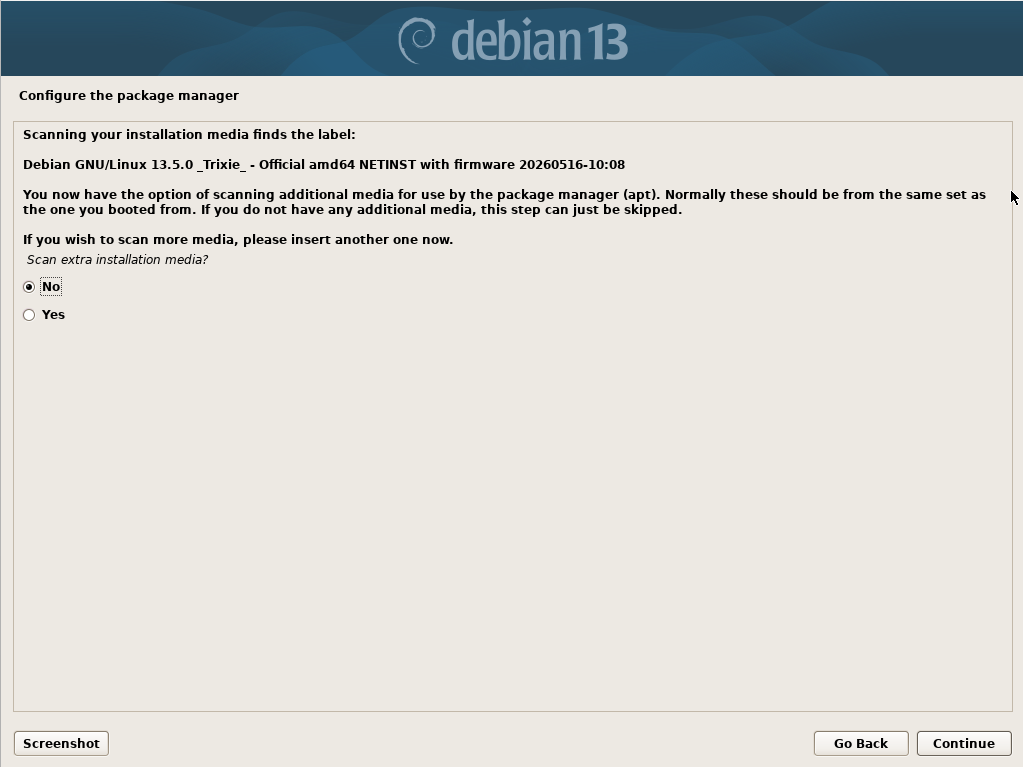
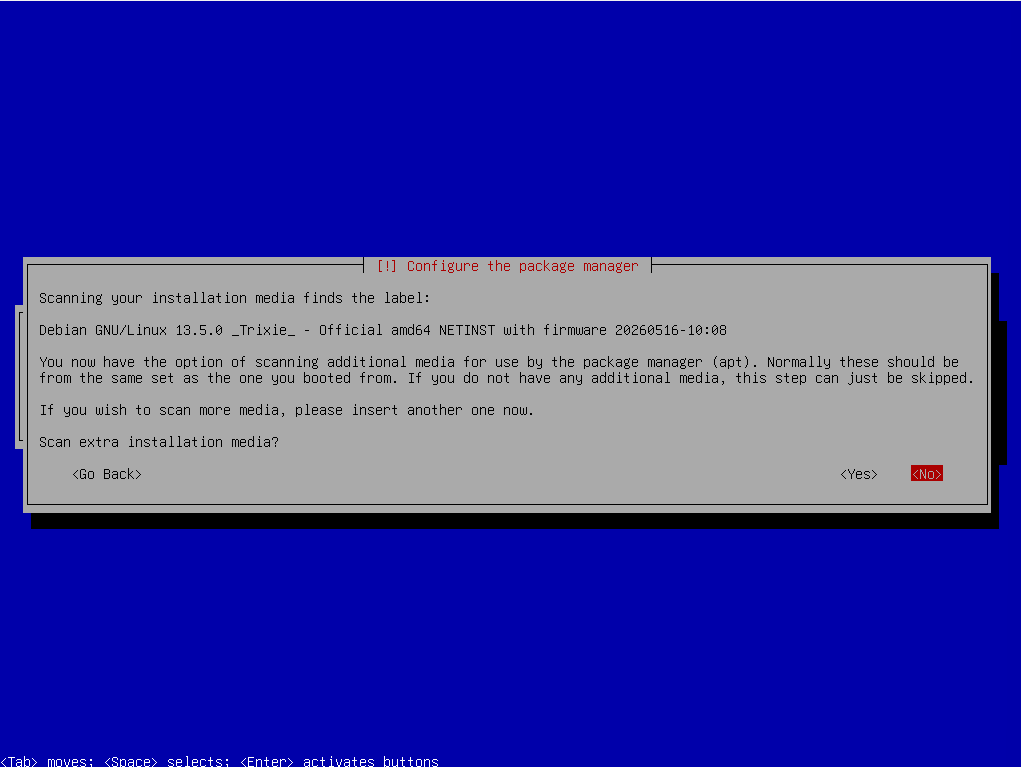
Wait for the system to land on "Configuring the package manager".
Unless you need specific drivers, Select <no> and press [Enter]. |
|
|
|
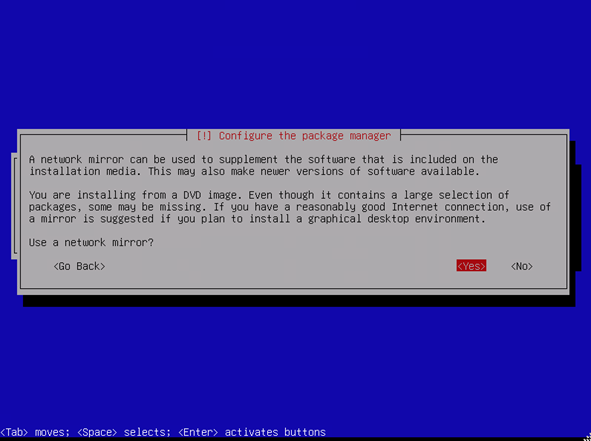
When prompted with “Use a network mirror?”, select “<Yes>.”
Confirm your selection by pressing [Enter]. |
|
|
|
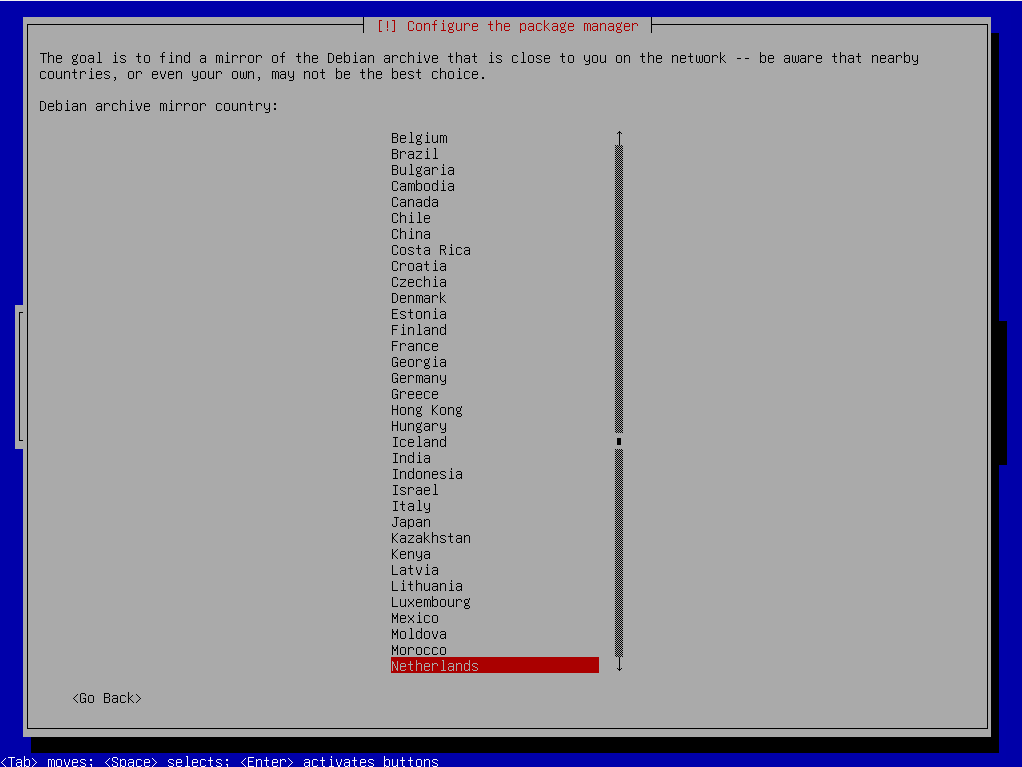
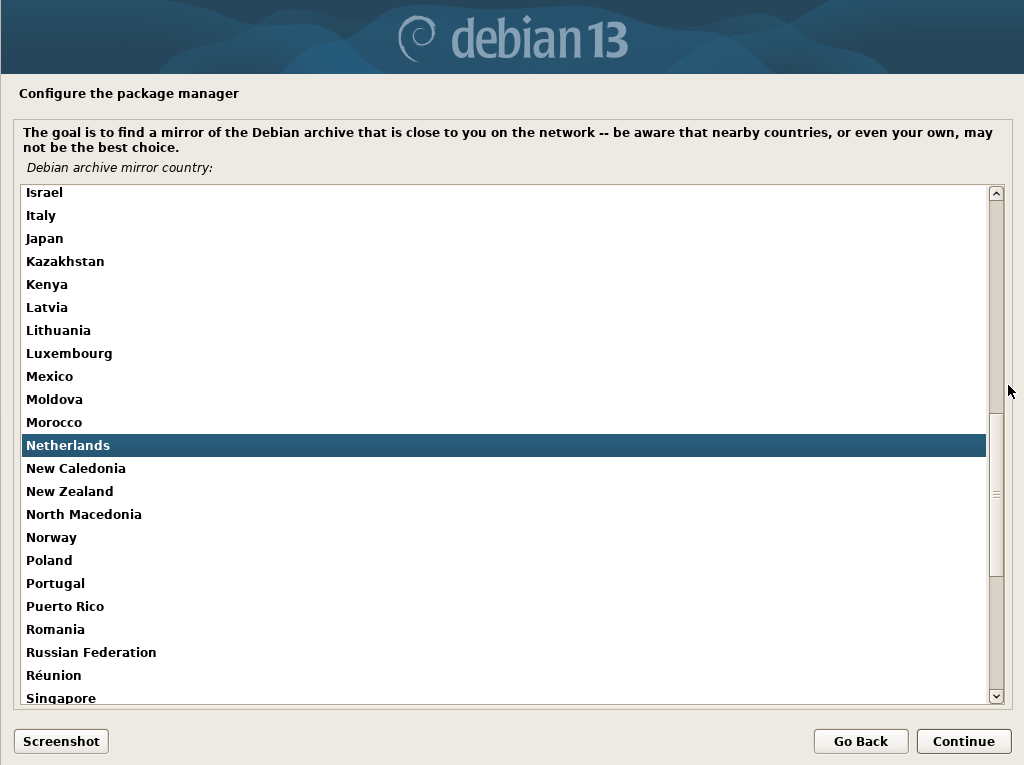
Select a preferred location for downloading the Linux packages from a archive mirror. If you don't have and prefference, you can leave it at the default selection.
Confirm your selection by pressing [Enter]. |
 |
|
|
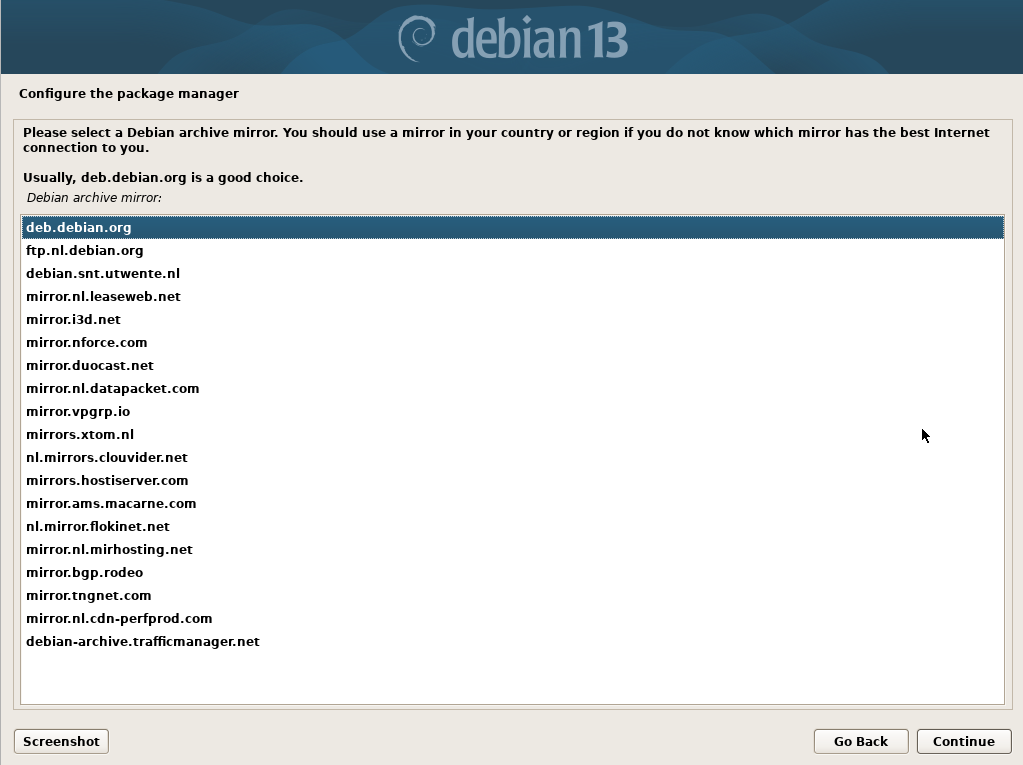
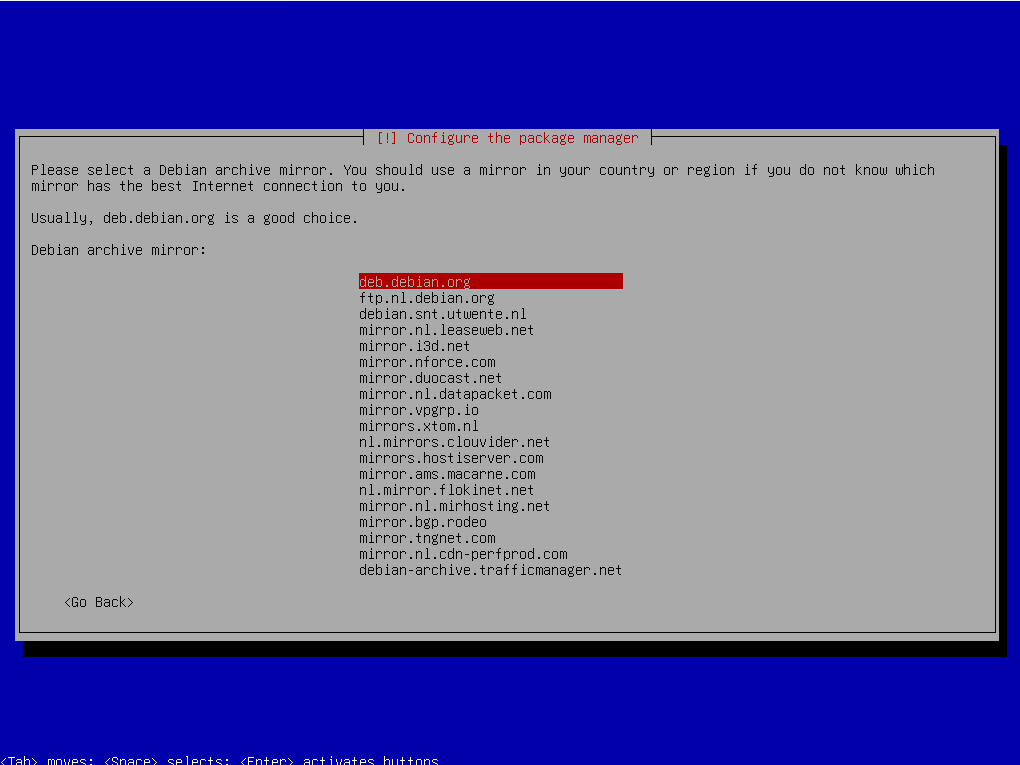
When selecting the Debian archive mirror, choose “deb.debian.org.”
Confirm your selection by pressing [Enter]. |
|
|
|
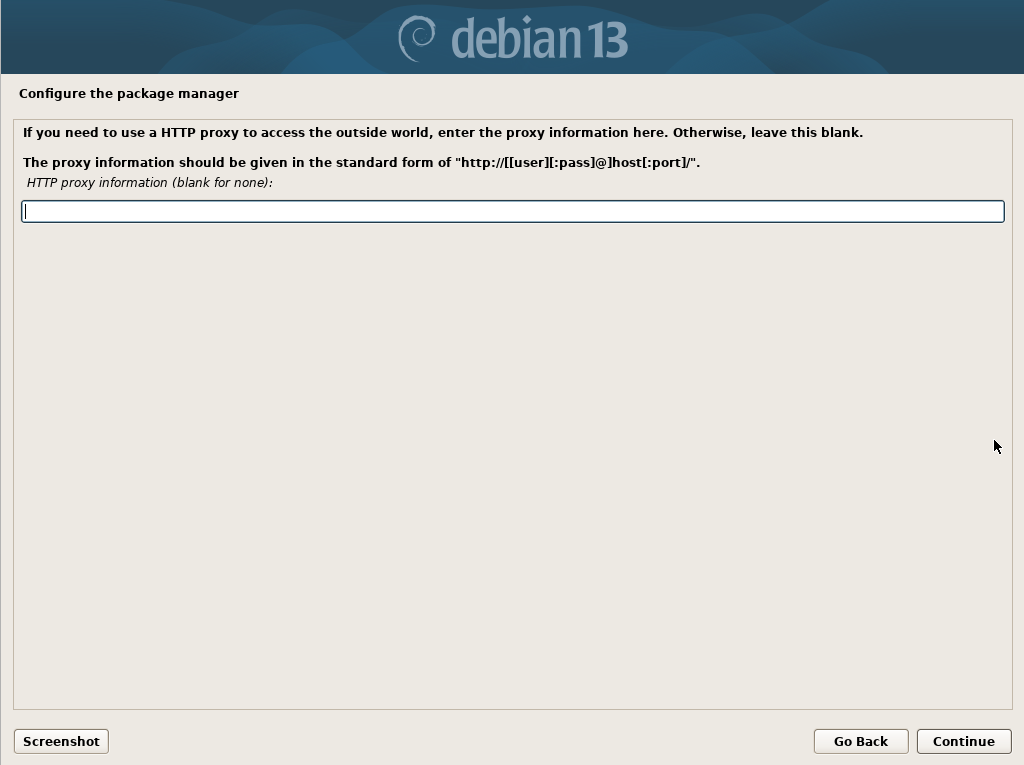
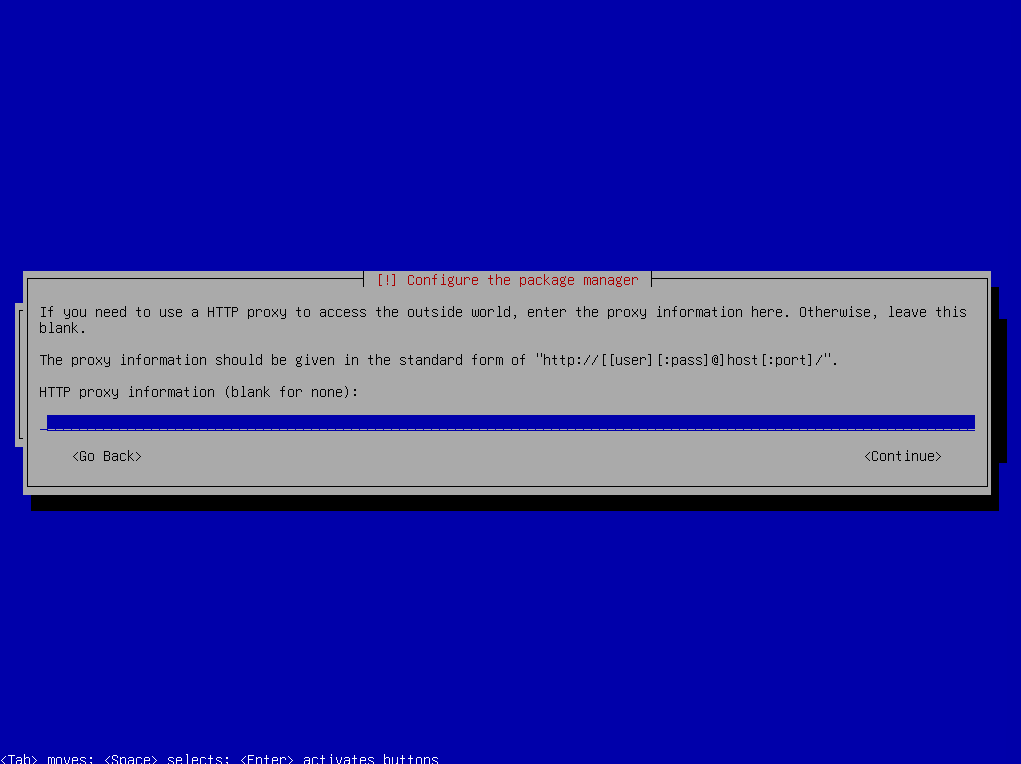
Leave the “HTTP proxy information” field empty.
Select the option <Continue> and confirm your choice by pressing [Enter] |
|
|
|
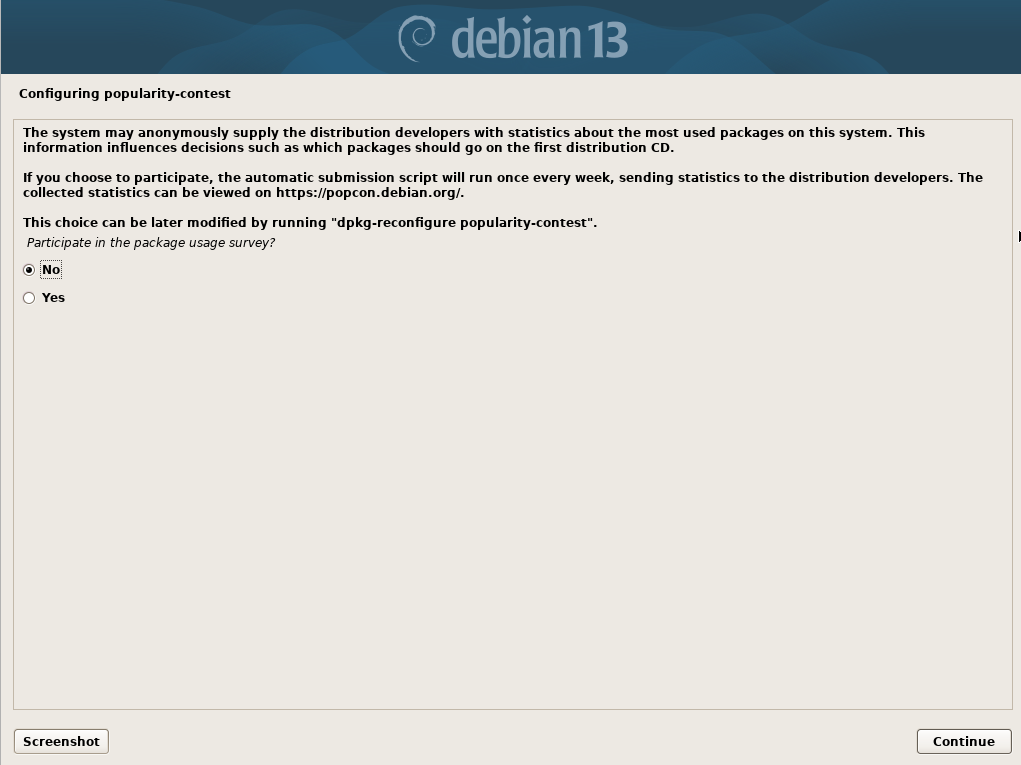
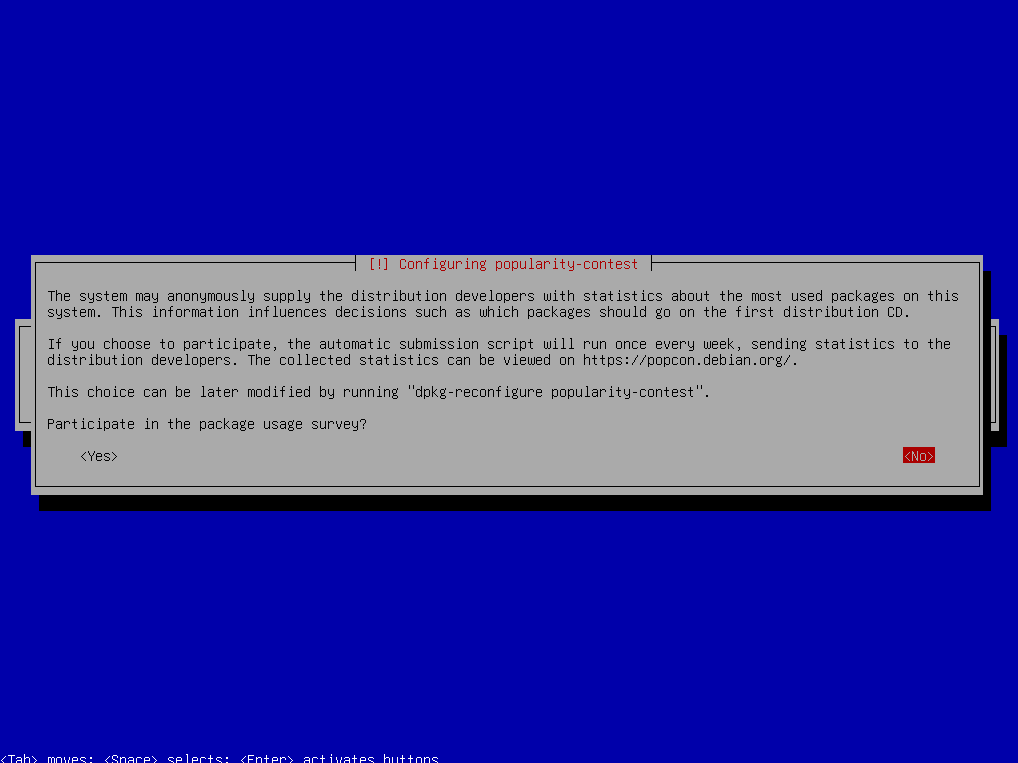
When prompted with “Participate in the package usage survey?”, select “<No>.”
Confirm your selection by pressing [Enter]. |
|
|
|
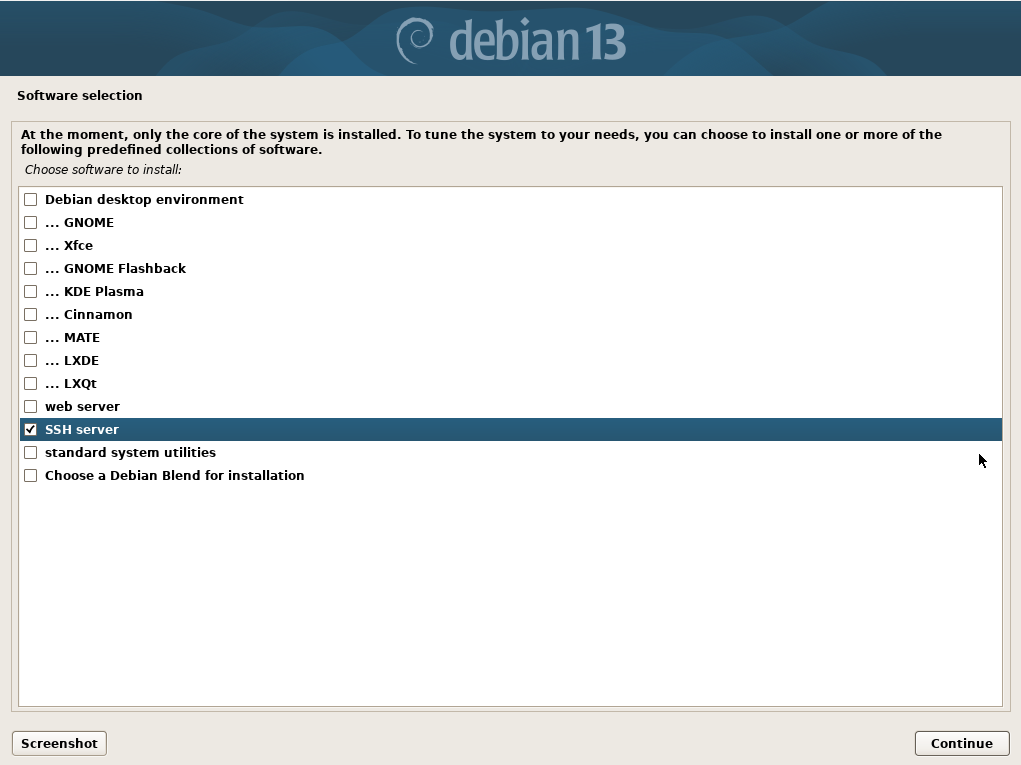
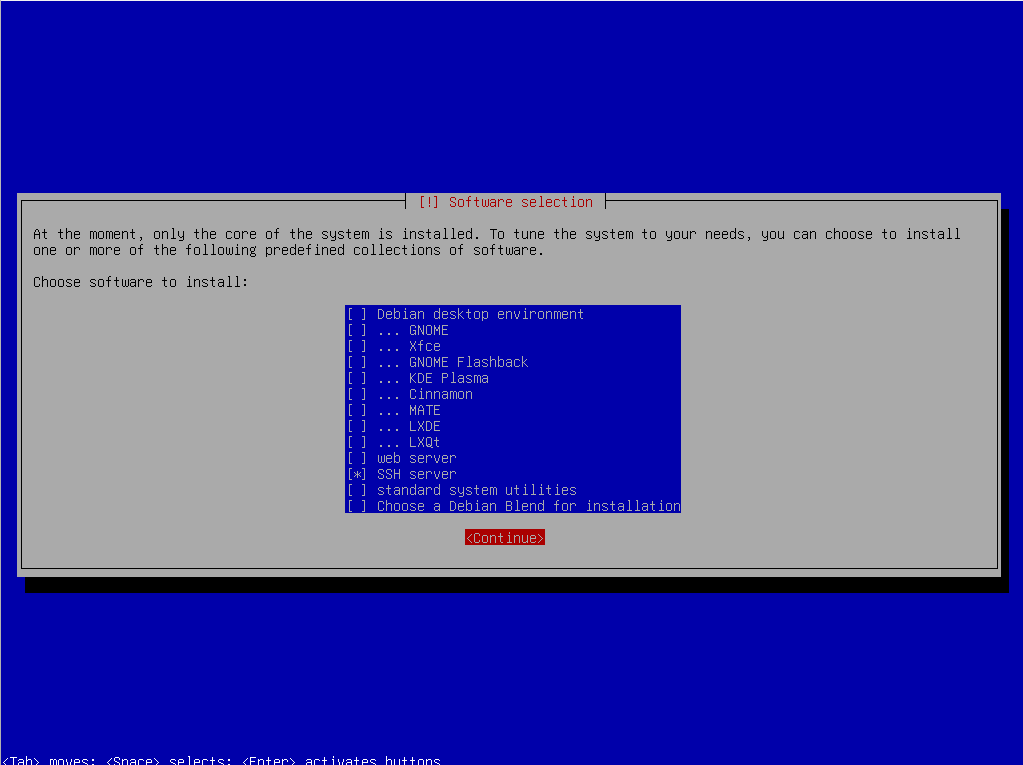
When selecting “Choose software to install,” only select the options “SSH server” and “standard system utilities” by marking them with the [Space] key.
Select the button <Continue> and confirm your choice by pressing [Enter]. |
|
|
|
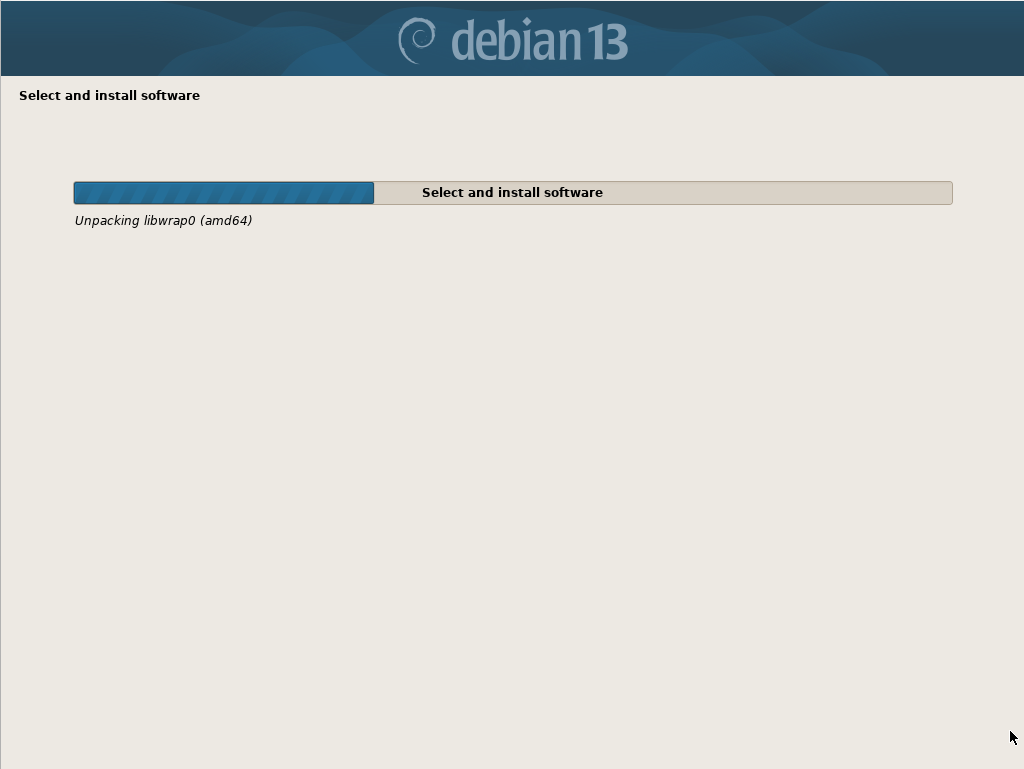
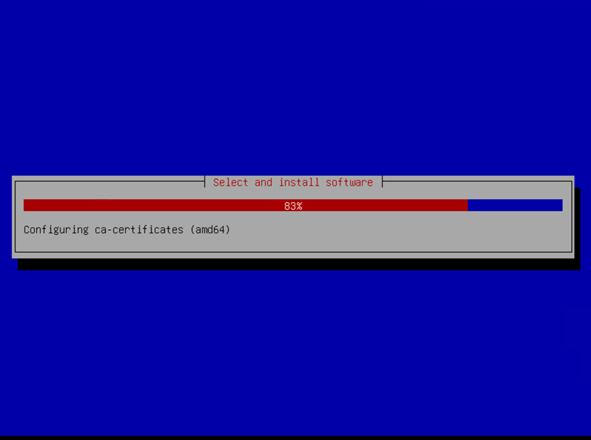
Wait until all software has been installed.
|
|
|
|
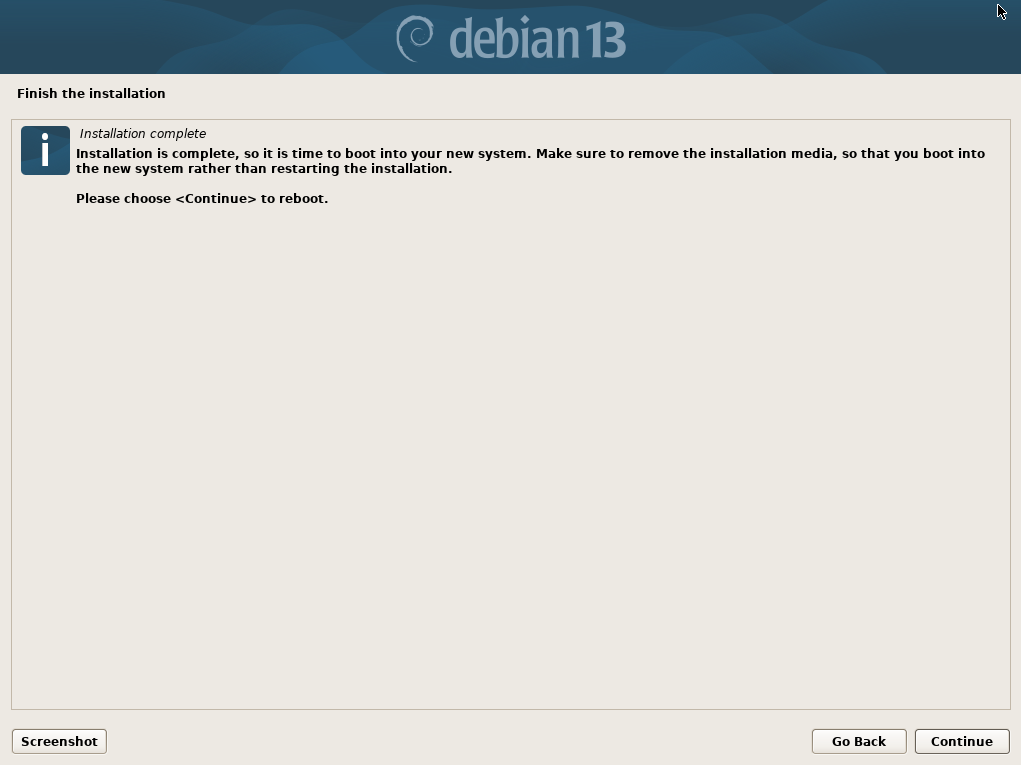
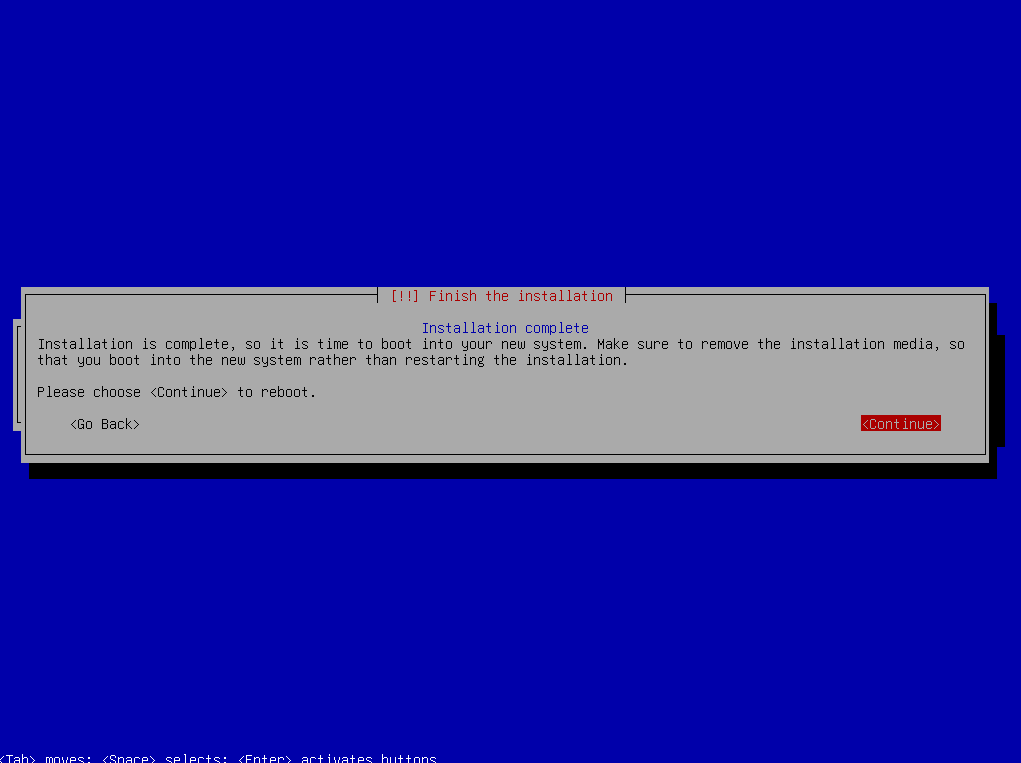
The installation is now complete.
Select the option <Continue> and confirm your choice by pressing [Enter]. |
|
|
|
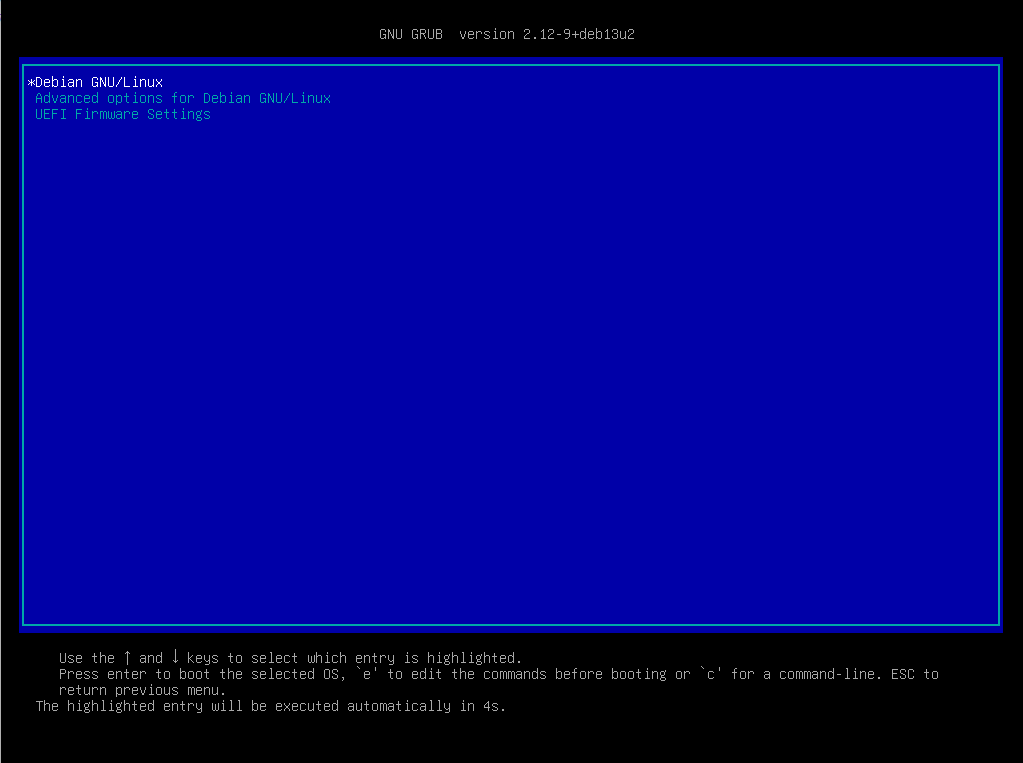
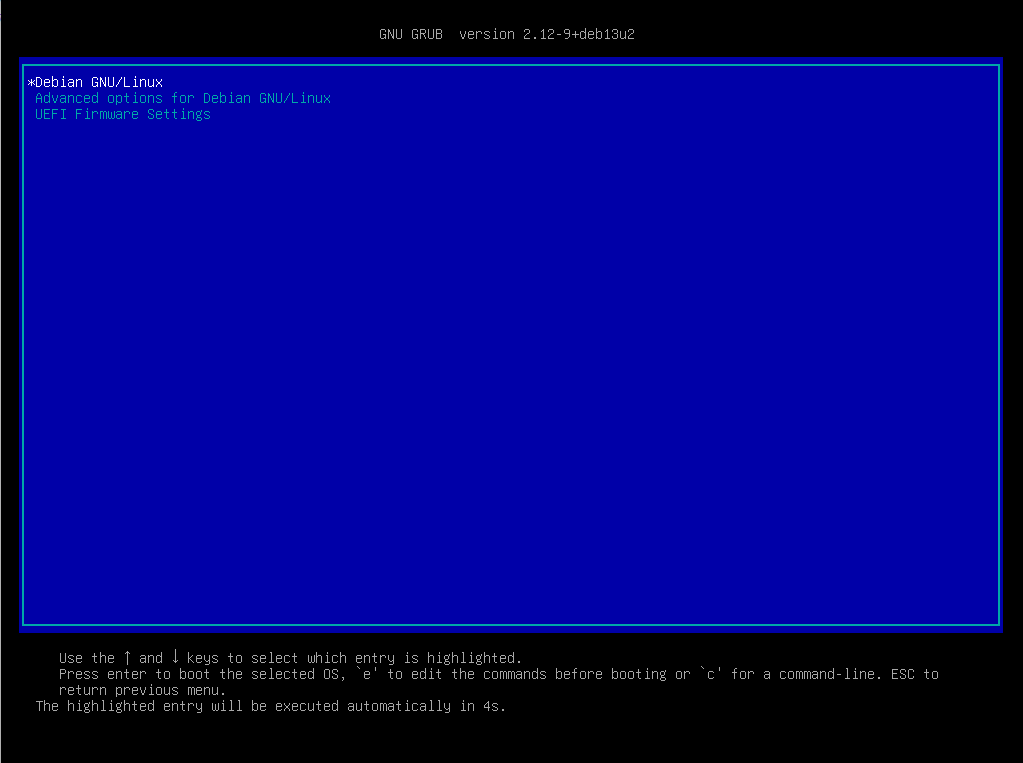
The system startup screen.
After the restart, the GRUB boot loader will briefly appear and will automatically proceed to start “Debian GNU/Linux.” |
|
|